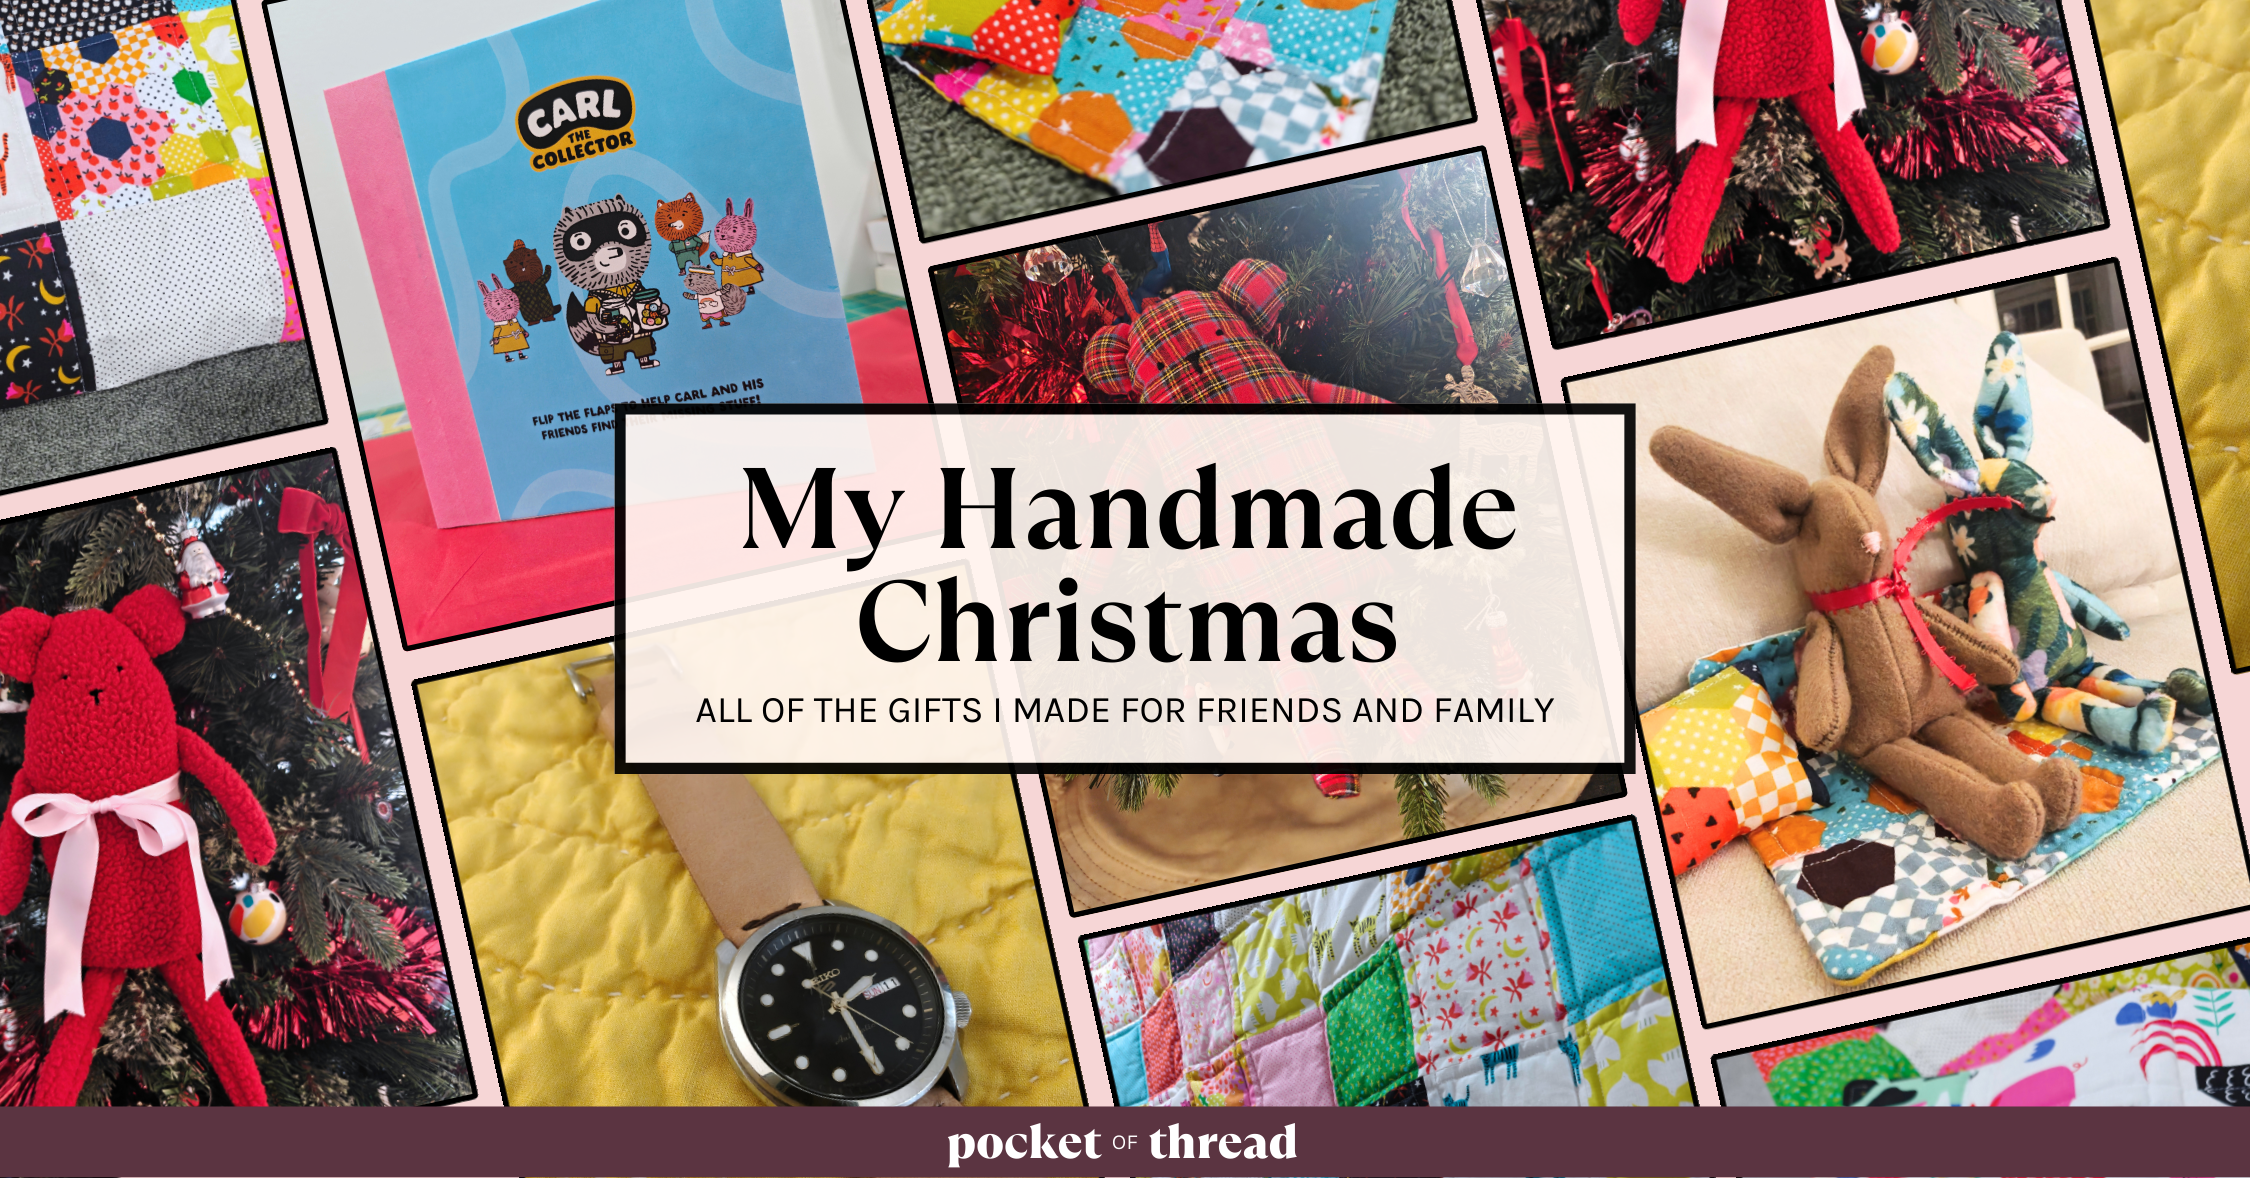
Welcome to Part 3 (the final part!) of the Making Your First Quilt series! In this post, you’ll learn how to finish your quilt without binding and how to add top stitching for a classic quilt feel. This is a multi-part series so feel free to revisit any steps along the way!
Make a quilt sandwich
Now is the time to gather your quilt top, batting, and backing fabric because we’re going to be layering them all to make a “quilt sandwich.” On a large, clean surface, place your batting layer down. On top, place your quilt top, with the right side facing up. Next, place your backing fabric on top of the quilt top, right side down.
If your layers aren’t all the same size, now is the time to trim them to be all the same size. Place safety pins throughout all three layers to hold them in place. Be sure to leave the edges unpinned since you’ll be sewing that part first.


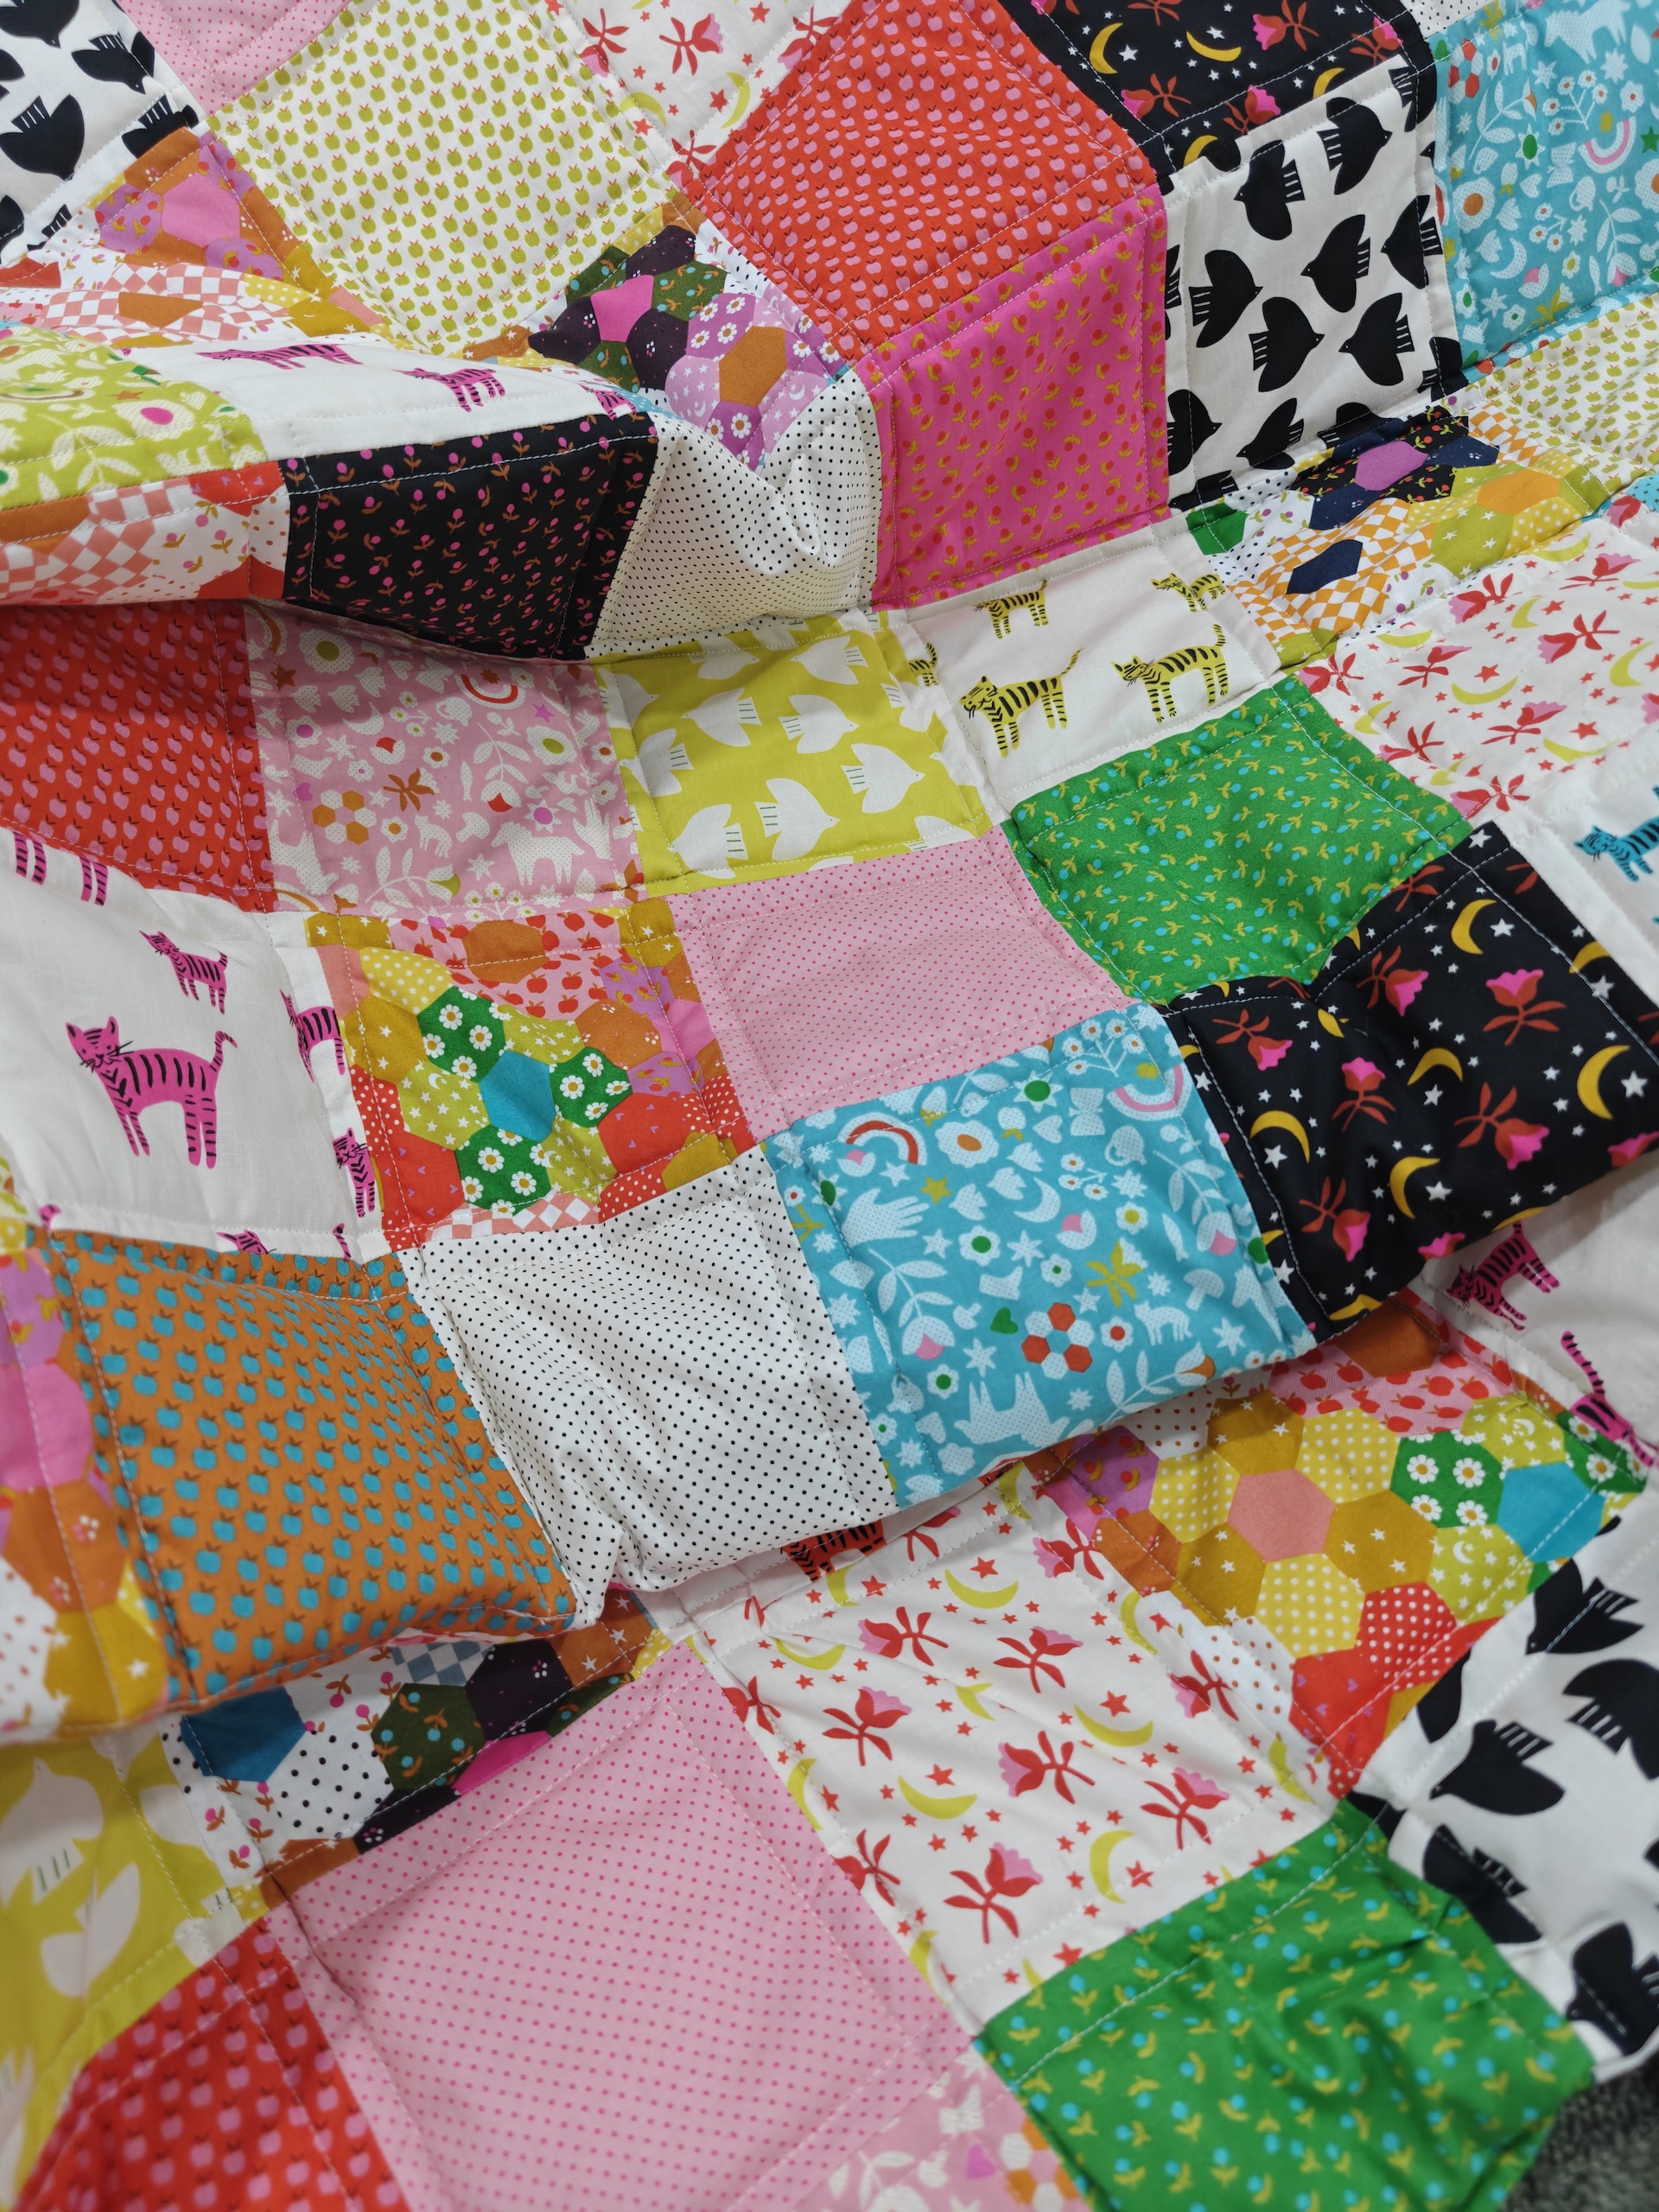
All of my layers are now trimmed and pinned!
I actually had no idea what my backing fabric was going to be until this step 🙈 Fortunately, I had the perfect-sized farm print just begging to be used for this very quilt!.
Sew the edges
Sew around the entire quilt sandwich, leaving a ~5inch gap (more if your batting is particularly thick) to turn everything right-side out when you’re done. I recommend a 1/2″ seam allowance for the edges to make sure you catch all of the layers. If you have a walking foot, this is a good time to break it out since it will make sewing through these thick layers a bit easier. If you don’t have a walking foot, use a roller foot instead. You’ll also want to sew your quilt sandwich with the batting facing up so it doesn’t get stuck in the feed dogs.
When you get to the corners, keep your needle down 1/2″ away from the edge and pivot your quilt so create a sharp corner.
When you’re done sewing the edges, clip the corners so they’re nice and crisp when you turn it right-side out. You may also want to trim your seam allowance if you ended up with more than a 1″2″, like I did. Next, remove all of the safety pins.
Now you’re ready to turn your quilt right-side out through the opening you left! Make sure you’re pulling it through the backing fabric and the quilt top so the batting stays in the middle. Use a knitting needle or your fingers to push out the corners so they are well-defined.


Iron the edges and sew the opening closed
Get your iron fired up and press around all of the edges and corners so they lay nice and flat. You can now sew your opening closed using a ladder stitch or you can top stitch it closed with your machine.


Pin and top stitch (Last step!)
You’re almost finished with your quilt! The final step is to pin down all three layers once more so they don’t shift while you’re top stitching. The more pins, the better, I promise.
At this stage, you have lots of options for top stitching designs. You can sew along the sides of each seam, you can “stitch in the ditch” for invisible stitches, you can sew in diagonals, or you can freemotion stitch a design too. If you wanted, you could even just topstitch the edges and call it a day.
For this quilt, I will be sewing along the left and right sides of every seam for a more traditional look. I will also top stitch around the entire perimeter of the quilt to give it a subtle border. This is yet another time-consuming (but satisfying!) step, so find yourself a nice podcast to play in the background.
When top stitching, start in the middle of your quilt and work your way to the outside. This helps your quilt layers from becoming warped. It can even be helpful to rotate your quilt 90 degrees after each line of stitching so help reduce bunching and warping.


Above, you can see that I sewed along all of the edges and even added an adorable little tag to make it extra special.
Below are some progress photos I took while I was working my way through all of the top stitching. It took quite a while so I took a lot of breaks and refilled my bobbin thread several times. I found that using my roller foot and a stitch length of 3 gave me the best results.


Final Reveal!


Is this quilt perfect? Absolutely not, but I love it so much and I’m so proud I was able to complete it in time to give as a gift for my growing toddler. If you look closely, you can see several spots where the corners don’t totally line up, as well as some puckering from pulling the fabric while sewing, but I’m just so happy that it’s complete that I don’t even care. 😆 Next, I plan to give it a gentle wash so it develops that dreamy crinkle that makes quilts feel extra special and I’ll post photos on Instagram to show the before and after if you’re curious.
Washing Tips
I recommend washing and drying your quilt before using or giving it as a gift to help remove any bits of thread that may be stuck to the fabric and also to give your quilt that signature “crinkle” that makes it so cozy and soft. Wash your quilt on gentle with cold water and dry it on a low heat setting, especially if you used wool batting like I did, which can be prone to shrinkage. Once it’s washed and dried, it’s ready to be snuggled!
If you’ve made it this far, you have officially completed your first quilt! If you followed this tutorial, I would LOVE to see your finished creation so tag me on Instagram @pocketofthread or leave a comment below.