Welcome to Part 2 of the Making Your First Quilt series! In this post, you’ll learn how to assemble all of your sewn rows and press your seams open to prepare for top stitching. This is a multi-part series so feel free to revisit any steps along the way!
Press all of the seams
Once you have all of your rows sewn together, it’s time to press every seam open. Yes, every seam. This part is tedious, but it’s a critical step in ensuring that your quilt will lay nicely and all of your squares line up perfectly. Turning on a good podcast or audio book will help the time go by much quicker.


So crisp and clean! For good measure, I also flip the rows over and press the fronts of the seams as well just to get them extra flat.
Sew your rows together
Now that all of your rows are sewn and pressed, it’s time to sew your rows together! If you decided to sew columns first, instead of rows, the next step is the same, you’ll just be working vertically, instead of horizontally.
Just like how you sewed your squares together, you’re going to lay one row on top of another with right-sides together and sew with the same seam allowance you used when making your rows. Reference the photo you took when making your pattern so you know which rows should go together.
Take your time when sewing to make sure sure your seams are all lined up perfectly. This will help your finished quilt look very professional!


Press your seams…again!
At this point, all of your rows are sewn and the top of quilt is nearly finished! The next step is to press your freshly sewn seams open. Again, this just helps your quilt to lay flat when you go to sew your batting and bottom layers.
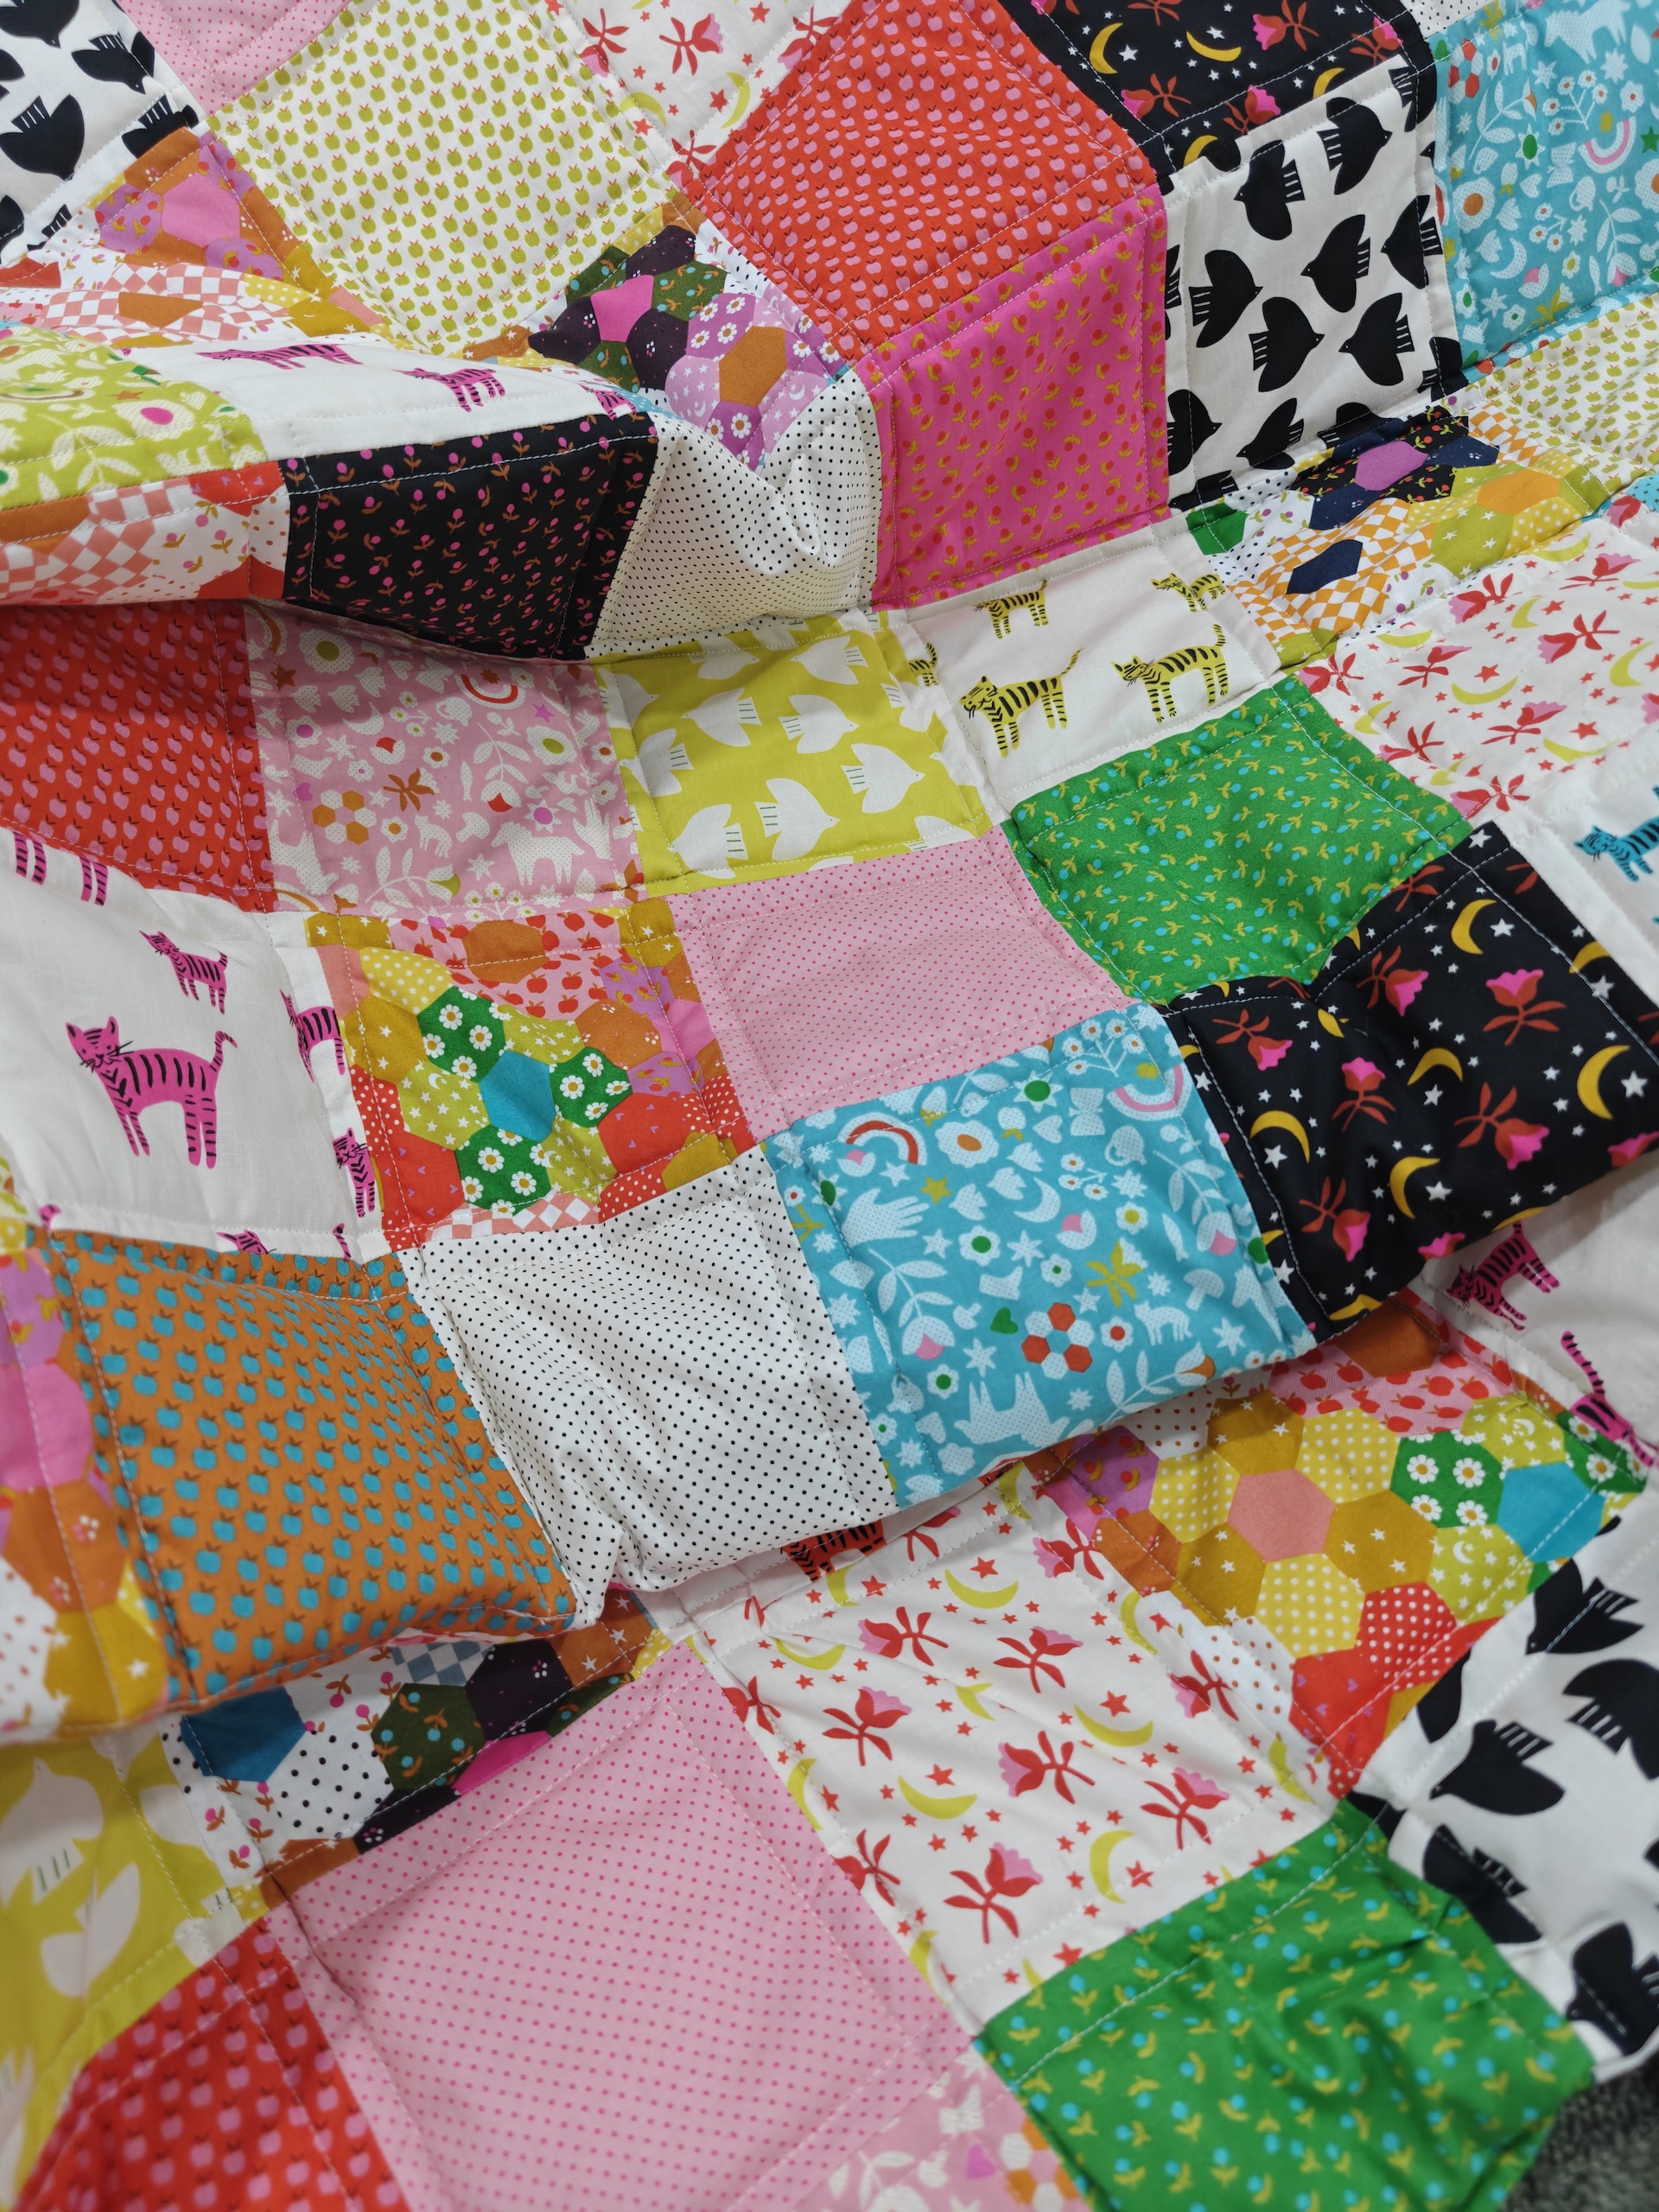
I ended up adding one more column to the right side because I was worried it wouldn’t be wide enough. Here is what the quilt looks like so far with all of the rows sewn together. I’m so happy with the way this is turning out!


This part is insanely tedious, but pressing all of your seams open will make your quilt looks very tidy and professional. Just look at those beautiful seams!

Now that the assembly of your quilt top is complete, it’s time to layer your batting and quilt back!