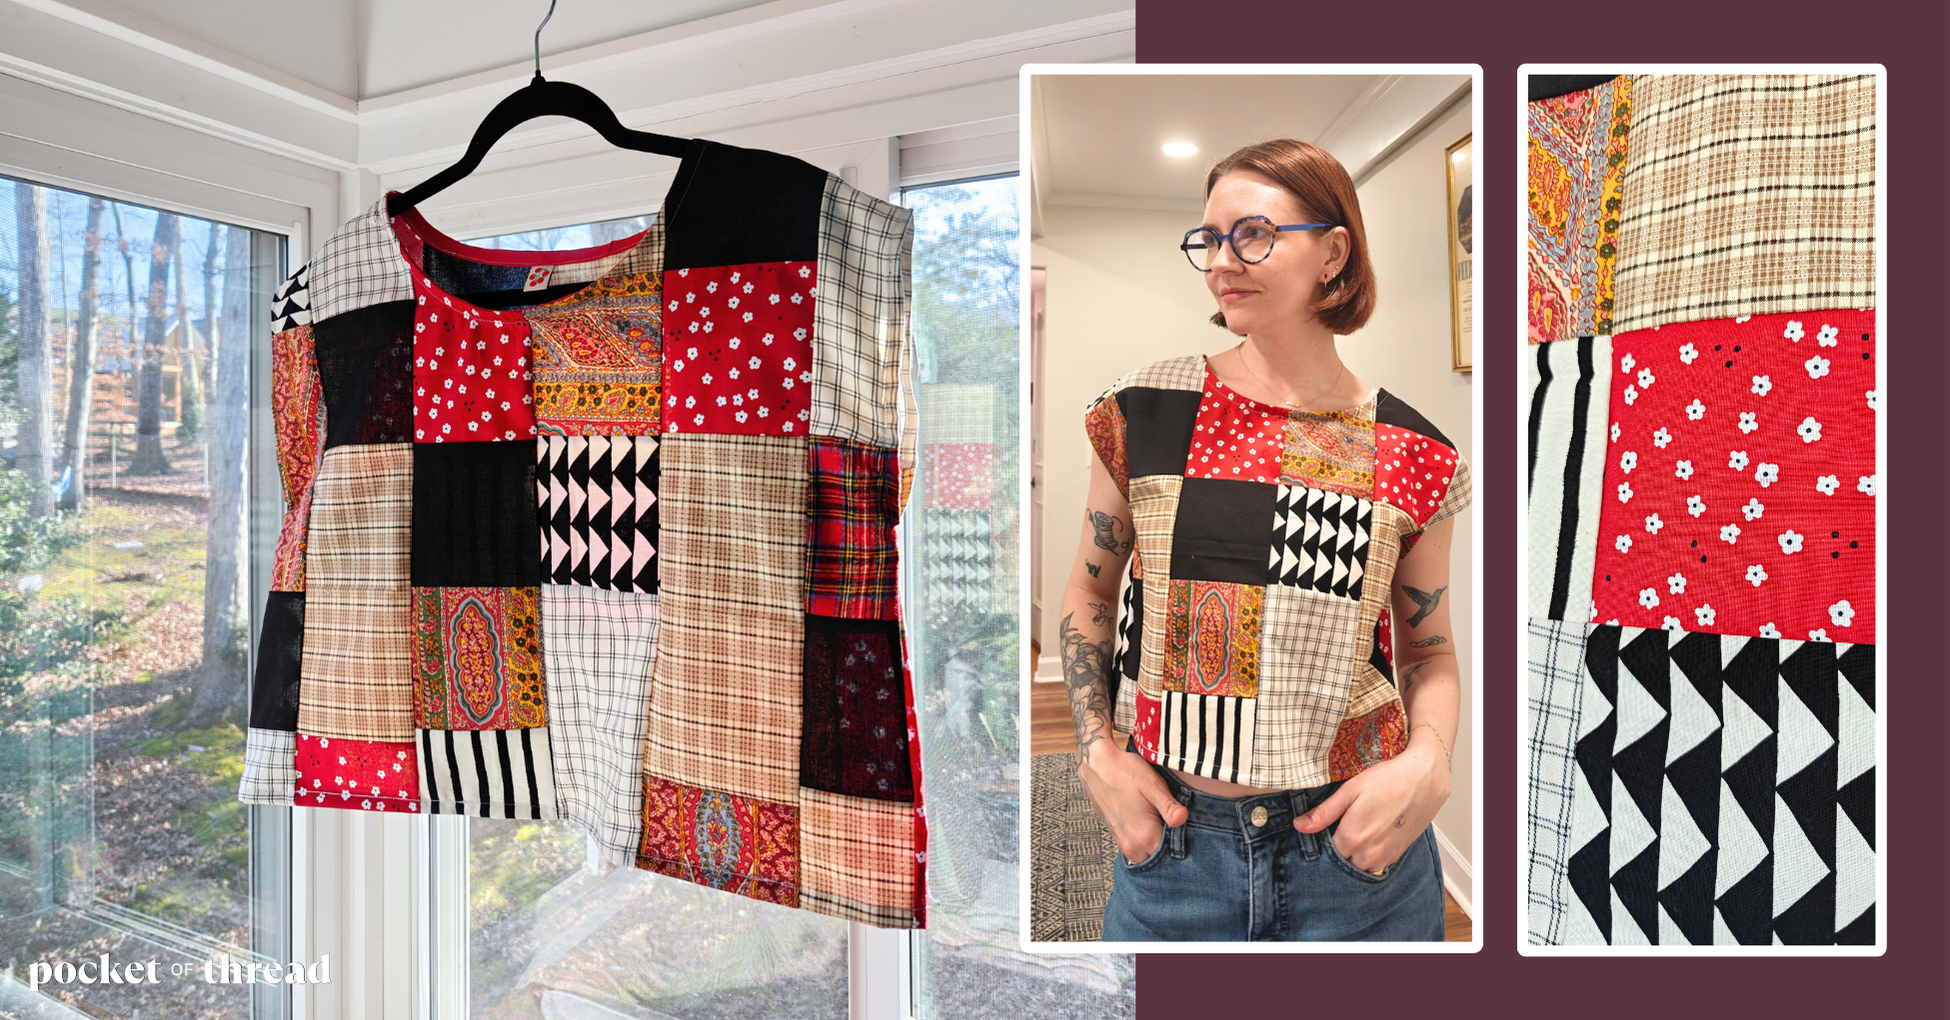
In this pattern review for the All Well Box Top, I’ll walk you through how I made this pattern and share some of my tips for working through some of the more challenging steps. This is a simple pattern with straightforward steps, but it does have a few technical elements that can be tricky to a total beginner, such as the neckline and the itty bitty hem on the sleeveless version. If you’re an adventurous beginner, or just looking for a new sewing challenge, I recommend making a custom patchwork version like I did!
Materials Needed:
- Bias tape
- Coordinating thread
- 1-2 yards of fabric (depending on the size and style you choose)
- A quilting square/ruler (if making a patchwork fabric)
- Pins or clips
Nice to have items:
- A mini iron
- A cute label
- Wool ironing mat
- Quilting rulers
This top looks great with light-weight fabrics with no stretch such as linen, chambray, cotton, rayon, or charmeuse. I chose to use a variety of cotton fabrics that I had in my stash since I knew I would have enough to finish this project and I wouldn’t have to buy more.
The All Well Box Top is a very versatile pattern because you can mix and match the various options to make 14 different styles, including dresses and long sleeved tops, so you really get a lot of mileage out of a single pattern. I’ve also made several versions of the All Well Cardigan Coat that I want to write a review of someday (Spoiler: I love that pattern!).

Image Source: https://www.etsy.com/sg-en/listing/713038843/all-well-box-top-sewing-pattern-hacking
I’ve actually made this pattern six times already in both long-sleeved and sleeveless versions and in a variety of prints and fabrics, so this time I knew I wanted to try something really different: patchwork! I’ve never made any kind of patchwork anything, unless you want to count the quilted scarf I made, but that was relatively small and simple. A whole patchwork garment is a totally new beast!


If you’re curious about how to make your own patchwork fabric, check out the steps below. If you just want to skip to the pattern review and see the final result, I won’t judge.
Making the Patchwork Fabric
Cut out your pieces
Since I was making the sleeveless, cropped version of the Box Top in a Size 1, I would need two pieces of my patchwork fabric to make the front and back of the top. This ended up translating into 32 squares of 4.5″ and then 14 rectangles of 4.5″ x 9″. I didn’t calculate this ahead of time, I just cut as I went and added more rows as needed until I was confident I had enough to cut out my pattern pieces. It helps to cut out your pattern pieces first and then lay your fabric pieces on top to gauge roughly how much you’ll need.
I tried to vary the fabrics I used, but stuck to a rough palette of brown, red, black, and white for cohesiveness. You could use all squares, all rectangles, larger shapes, or even triangles depending on the final look you want to achieve! If I made this again, I would choose larger pieces, just to reduce the amount of sewing it takes to piece them all together.

Make your rows
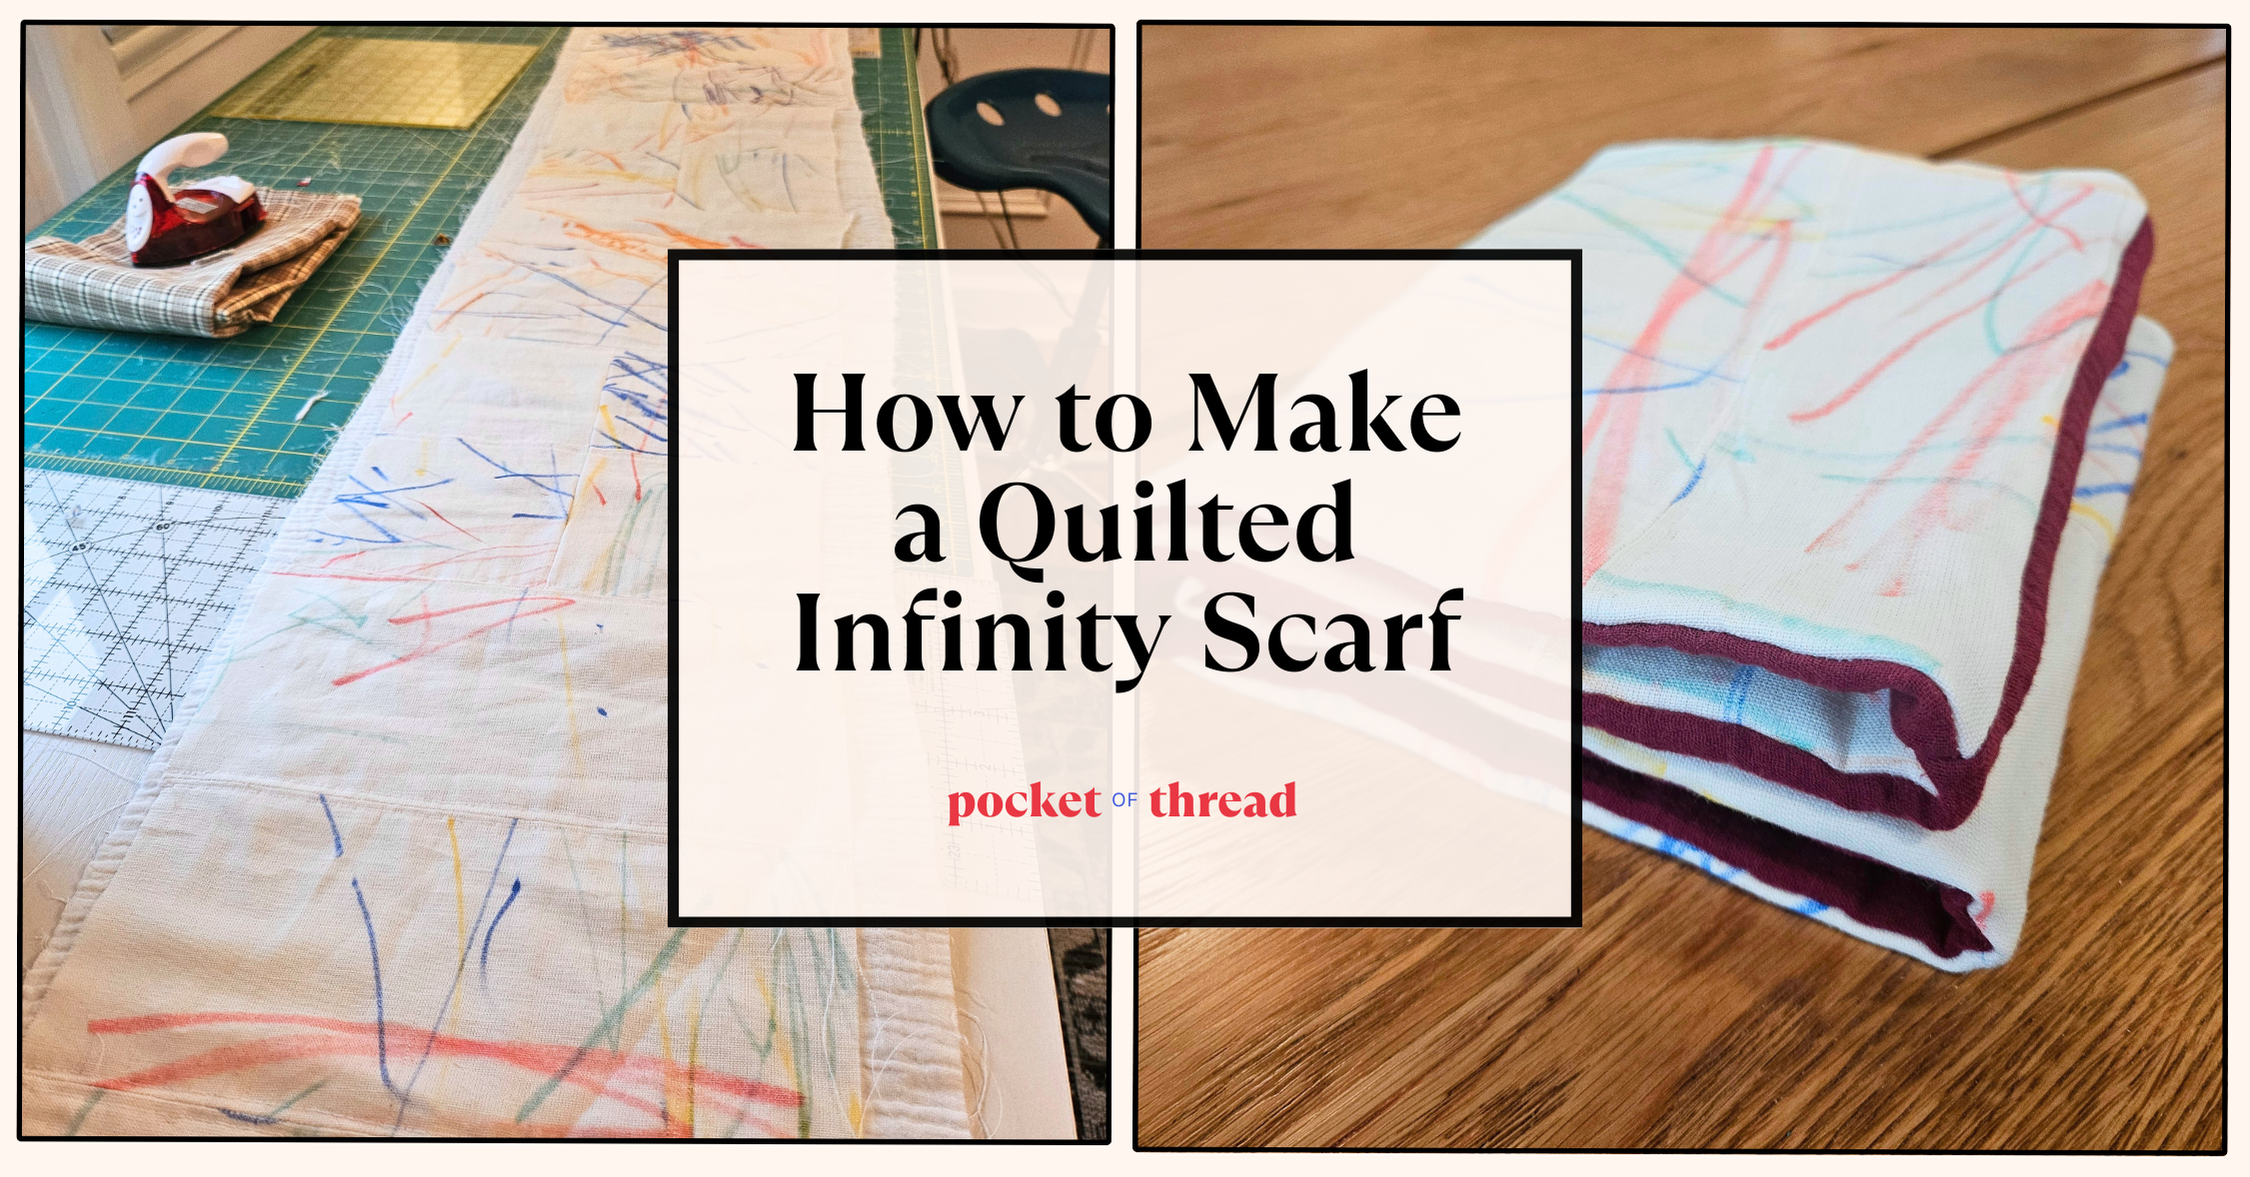
Lay out your squares to figure out where you want each piece placed. I was pretty particular about this part because I didn’t want two of the same color/pattern to be touching which made things a little tricky. Once you’ve decided on the pieces you want for your first row, lay them RST (right sides together) and sew 1/4″ from the raw edge. Finish the seam with a serger or zigzag stitch and repeat for the rest of the pieces in the row. I go into more detail about this process in my quilted infinity scarf tutorial if you want to see more photos. This part takes a little time so put on some good music or your favorite podcast to pass the time.
Press all the seams in one direction (ideally down if you already know which direction your finished shirt will be laying) which will help it not be scratchy when you’re eventually wearing it. I made 6 rows total for the front piece and 6 more rows for the back.


Stitch the rows together
Once you’ve created all of your rows, you’re ready to stitch them together to make a single piece of fabric. Just like assembling the rows, you’re going to place two rows RST and stitch them together with a 1/4″ seam allowance and repeat until all the rows are connected in a single sheet.
Now you can either continue making rows to create one large piece of fabric that you can cut out your pattern pieces from, or you can make two separate pieces of patchwork fabric (like I did). Since I don’t have a large work area, I opted to make two pieces (one for the front and one for the back) so it was easier for me to assemble the rows.
The secret to making a professional-looking patchwork is to match up the seams perfectly, even if that means that the top and bottom edge of your fabric don’t line up. That won’t matter anyway since we’re going to be cutting out the fabric for our pattern. You can see what I mean here in the photos below.
Once you’re done assembling, be sure to finish all of your seams with either a serger or a zigzag stitch and press all of the long seams in the same direction so they lay nice and flat.


Notice how the top and bottom edges don’t line up, but the seams in each row are perfect! If I were making a quilt, I would just trim the top and bottom edges to be straight, but since we’re cutting out our pieces, it just doesn’t matter.
Assembling the Top
I followed the pattern exactly to make the sleeveless cropped version of the Box Top.
Cut out your fabric and stitch the shoulder seams
I folded my fabric in half along one of the seams so the middle of the front and back of my shirt would have a center seam. You definitely don’t have to do this, but I like the symmetry it made. Once sewed, I pressed the seams flat so that they pointed towards the back of the shirt.


Hem the sleeves
This is hands-down the trickiest part of this pattern. The first time I even made this pattern, I didn’t have an iron to press the hems and the sleeves always turned out twisted and wonky. Even with an iron to press the hem flat, it’s still fiddly and requires a lot of patience to get things nice and even all the way around. Just go slowly and work inch by inch until you’ve pinned/clipped the hem all the way around and you’re ready to sew. Fortunately, the actual sewing is the easy part!


Finishing the neckline
I was so in the zone at this point that I totally forgot to take photos of this process. For what it’s worth, I followed the pattern’s instructions and I thought they were very clear and helpful. This is another part where it’s helpful to press your seams in between each step to keep things crisp and tidy. I also added in an adorable label from Sarah Hearts into the neck binding. One thing to note is that you’ll just slightly see the bias tape peeking out of your finished shirt so you’ll probably want to use a color that matches your shirt somewhat. I know a lot of folks like to make their own matching bias tape, but that’s just not me so I buy mine and just try to match it as best as I can.


Hem the bottom edge
The last step is the hem the bottom edge of your top! With right sides together, I folded over the edge a 1/2″ and then pressed it all the way around and then I folded it another 1/2″ to enclose the edge and I stitched it down very close to the fold. When you’re done, press the edge once more to make sure it’s flat and you’re done!


Final Reveal!


This top ended up being one of the most time-consuming projects I’ve ever done, but the finished result makes it all worthwhile. I love that I was able to use up a lot of fabric scraps to make something completely new and know that no one in the world would have the same shirt! This pattern is so versatile and I know I’ll continue to use it for years to come. If you make this pattern, I’d love to see it!
(Disclaimer: As a member of the Amazon Affiliate Program, I may earn a commission from qualifying purchases linked on this site.)
