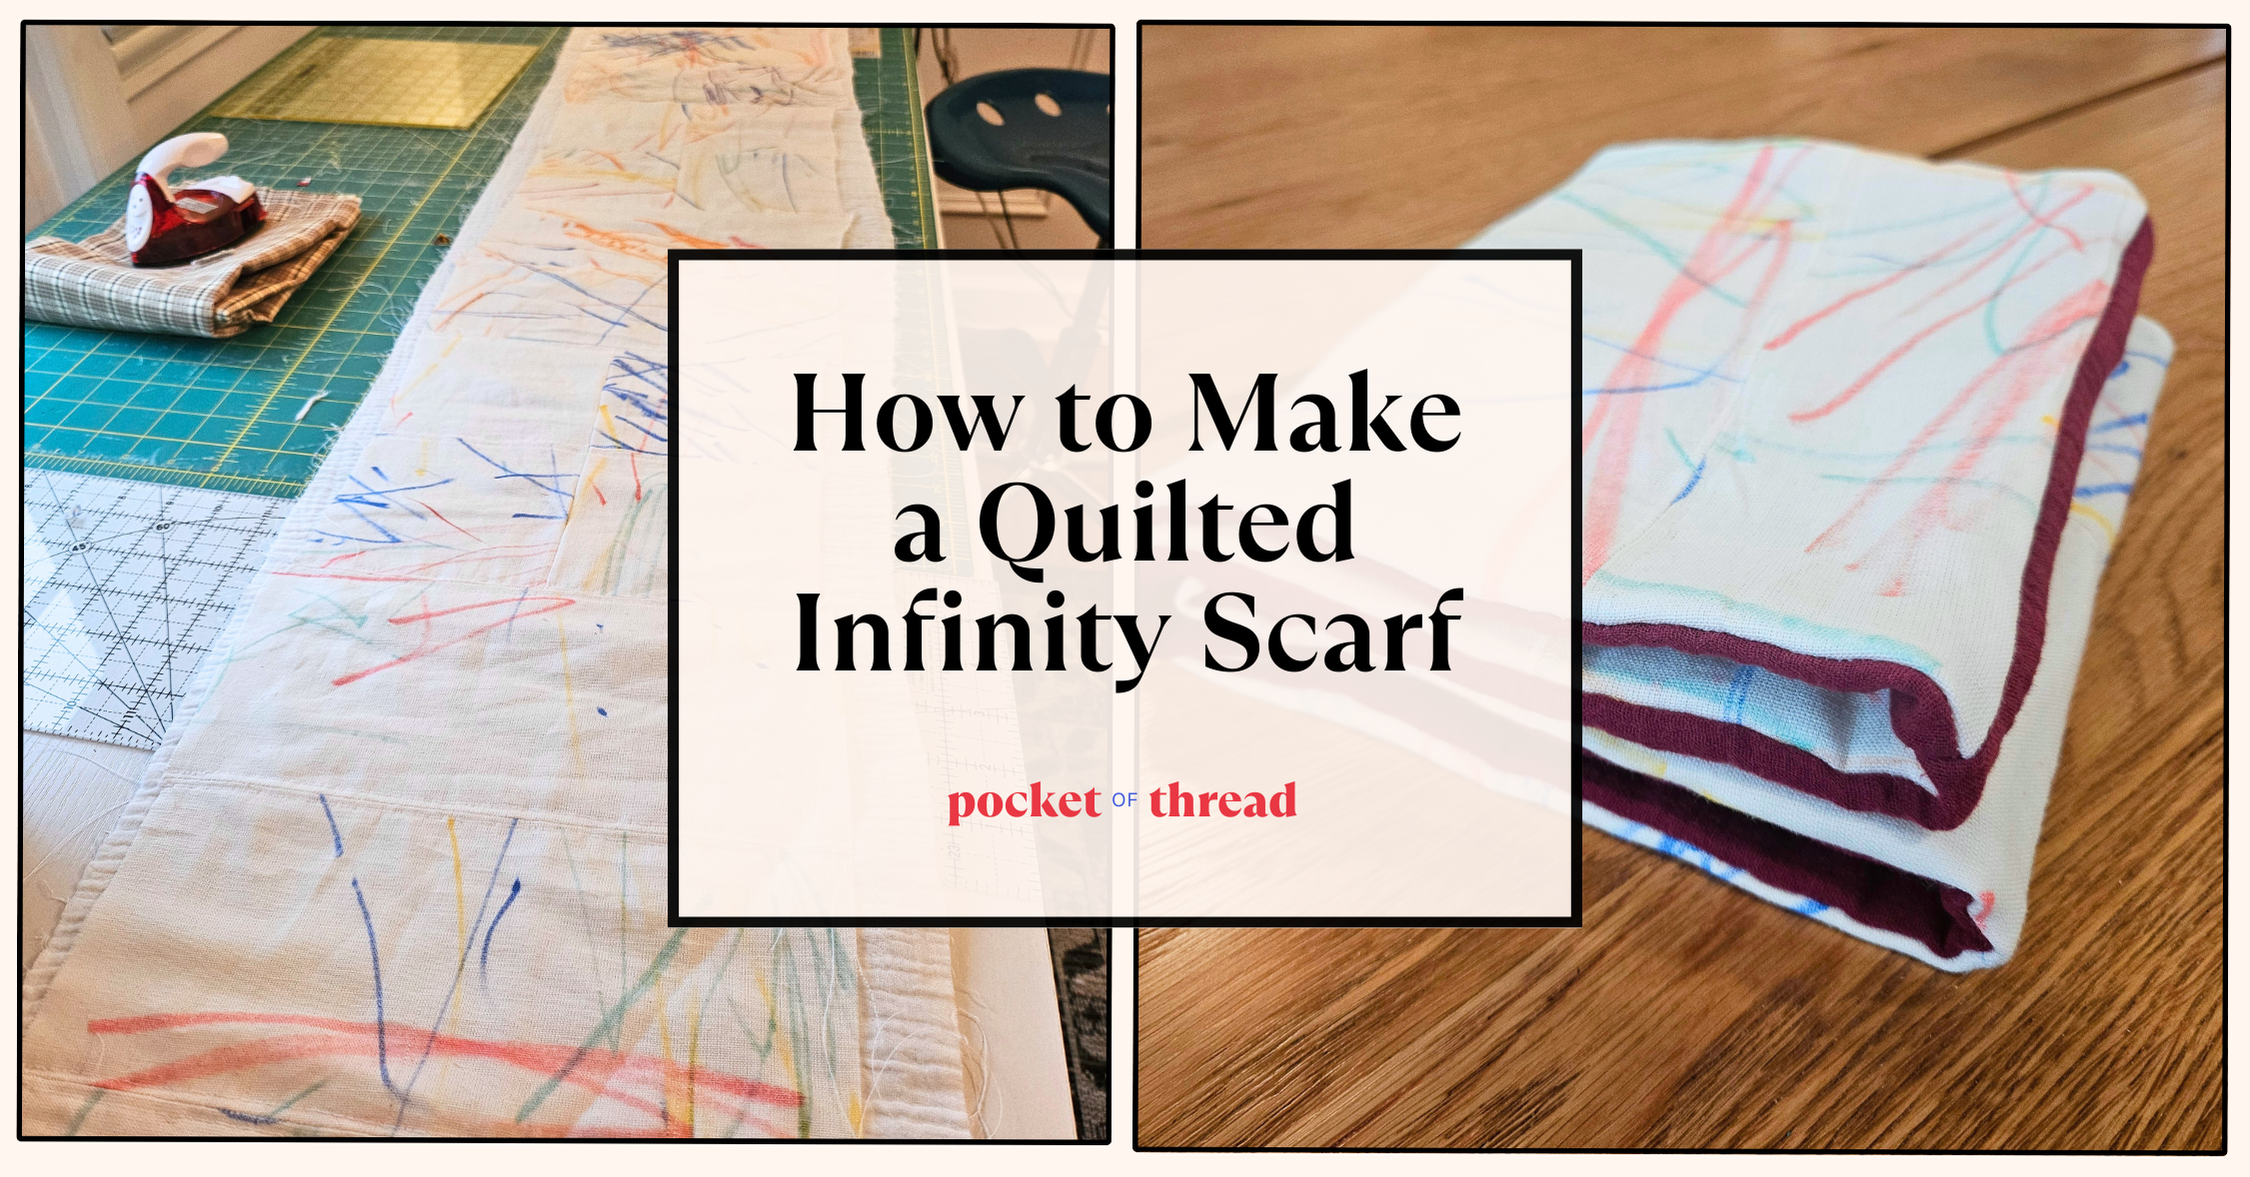
If you’ve been curious about quilting, but don’t want to commit to making a whole quilt for your first project, then this quilted scarf is a great project for you. I’ve previously shared a tutorial for making an easy infinity scarf and this is the same process, just with a fun quilted twist! With only ~ 2 yards of fabric, you can make your very own custom quilted scarf; read on to learn how!
Cut Out Your Fabric
For my top fabric I used something super special: fabric that my daughter decorated with fabric pens! I sadly didn’t take any photos of this process, but it was adorable to see her let loose and have fun scribbling with all the different colors. The fabric was 1 yard of white linen that I picked up at JoAnn’s Fabric.
Using my 9.5″ square quilting ruler, I cut out a bunch of squares from the linen in varying colors and scribble patterns. I then cut half of the squares into halves and the others into quarters, but you could make them all squares, rectangles, or triangles, depending on the finished look you want.
For the batting layer, I used a piece of white double gauze to add warmth and softness without making the scarf too bulky. For the backing fabric, I used two layers of maroon double gauze, but you really can use anything, such as cotton, linen, seersucker, flannel, or jersey.


Make the Quilt Top
Here are the basic steps for quilting that you can use to quilt anything, including a full-sized blanket!
Quilt the Pieces Together
Once I cut out all the pieces, I laid them out in order were I wanted them to be on the scarf and started stitching the pieces together. When stitching the pieces, I placed them RST (right sides together) and stitched with a 1/4″ seam allowance and then I pressed each seam open.


Add the Batting Layer
Lay your quilted fabric on your batting fabric and pin liberally so that the pieces don’t shift when you top stitch.
Stitch along the sides of each seam ~1/4″ to connect the quilted fabric to the batting, making a long tube.


Trim the Quilt Top
Trim your finished quilt top so all sides are even and neat. After trimming, my quilt top was 9″ x 42″ and I cut the backing fabric to match.

Attach the Backing Fabric
With RST, pin or clip your quilt top to the backing fabric and sew along the long sides with a 1/4″ seam allowance. Finish the edges with a serger or zigzag stitch. (These are all the same steps as in my Easy Infinity Scarf tutorial!)


Finishing the Scarf
Turn your fabric tube right side out. Then roll one end of the fabric up and scooch it up until the ends line up. Pin or clip the two openings together making sure to line up the seams. Sew along the edge of the opening, leaving about ~2″ so you can turn the scarf inside out.
Carefully turn your scarf inside out through that small opening and then stitch the opening closed, making sure to fold in the raw edges. You can either use your machine or hand-stitch it closed using a ladder stitch. Press the scarf with an iron to lay the side seams flat and your scarf is complete!


Final Reveal!


As the very first true quilted piece I’ve ever made, I’m so happy with how this turned out and the custom doodle fabric makes it even more special. This scarf can be wrapped around twice (as pictured above), but it’s a little snug. I think if I made this again, I would make the length closer to 50″ to make it easier to wrap twice, but this length works as long as you have a small head 😉 This piece is getting packaged up to be given as a very special gift, but I will definitely make another version for myself at some point!
(Disclaimer: As a member of the Amazon Affiliate Program, I may earn a commission from qualifying purchases linked on this site.)
