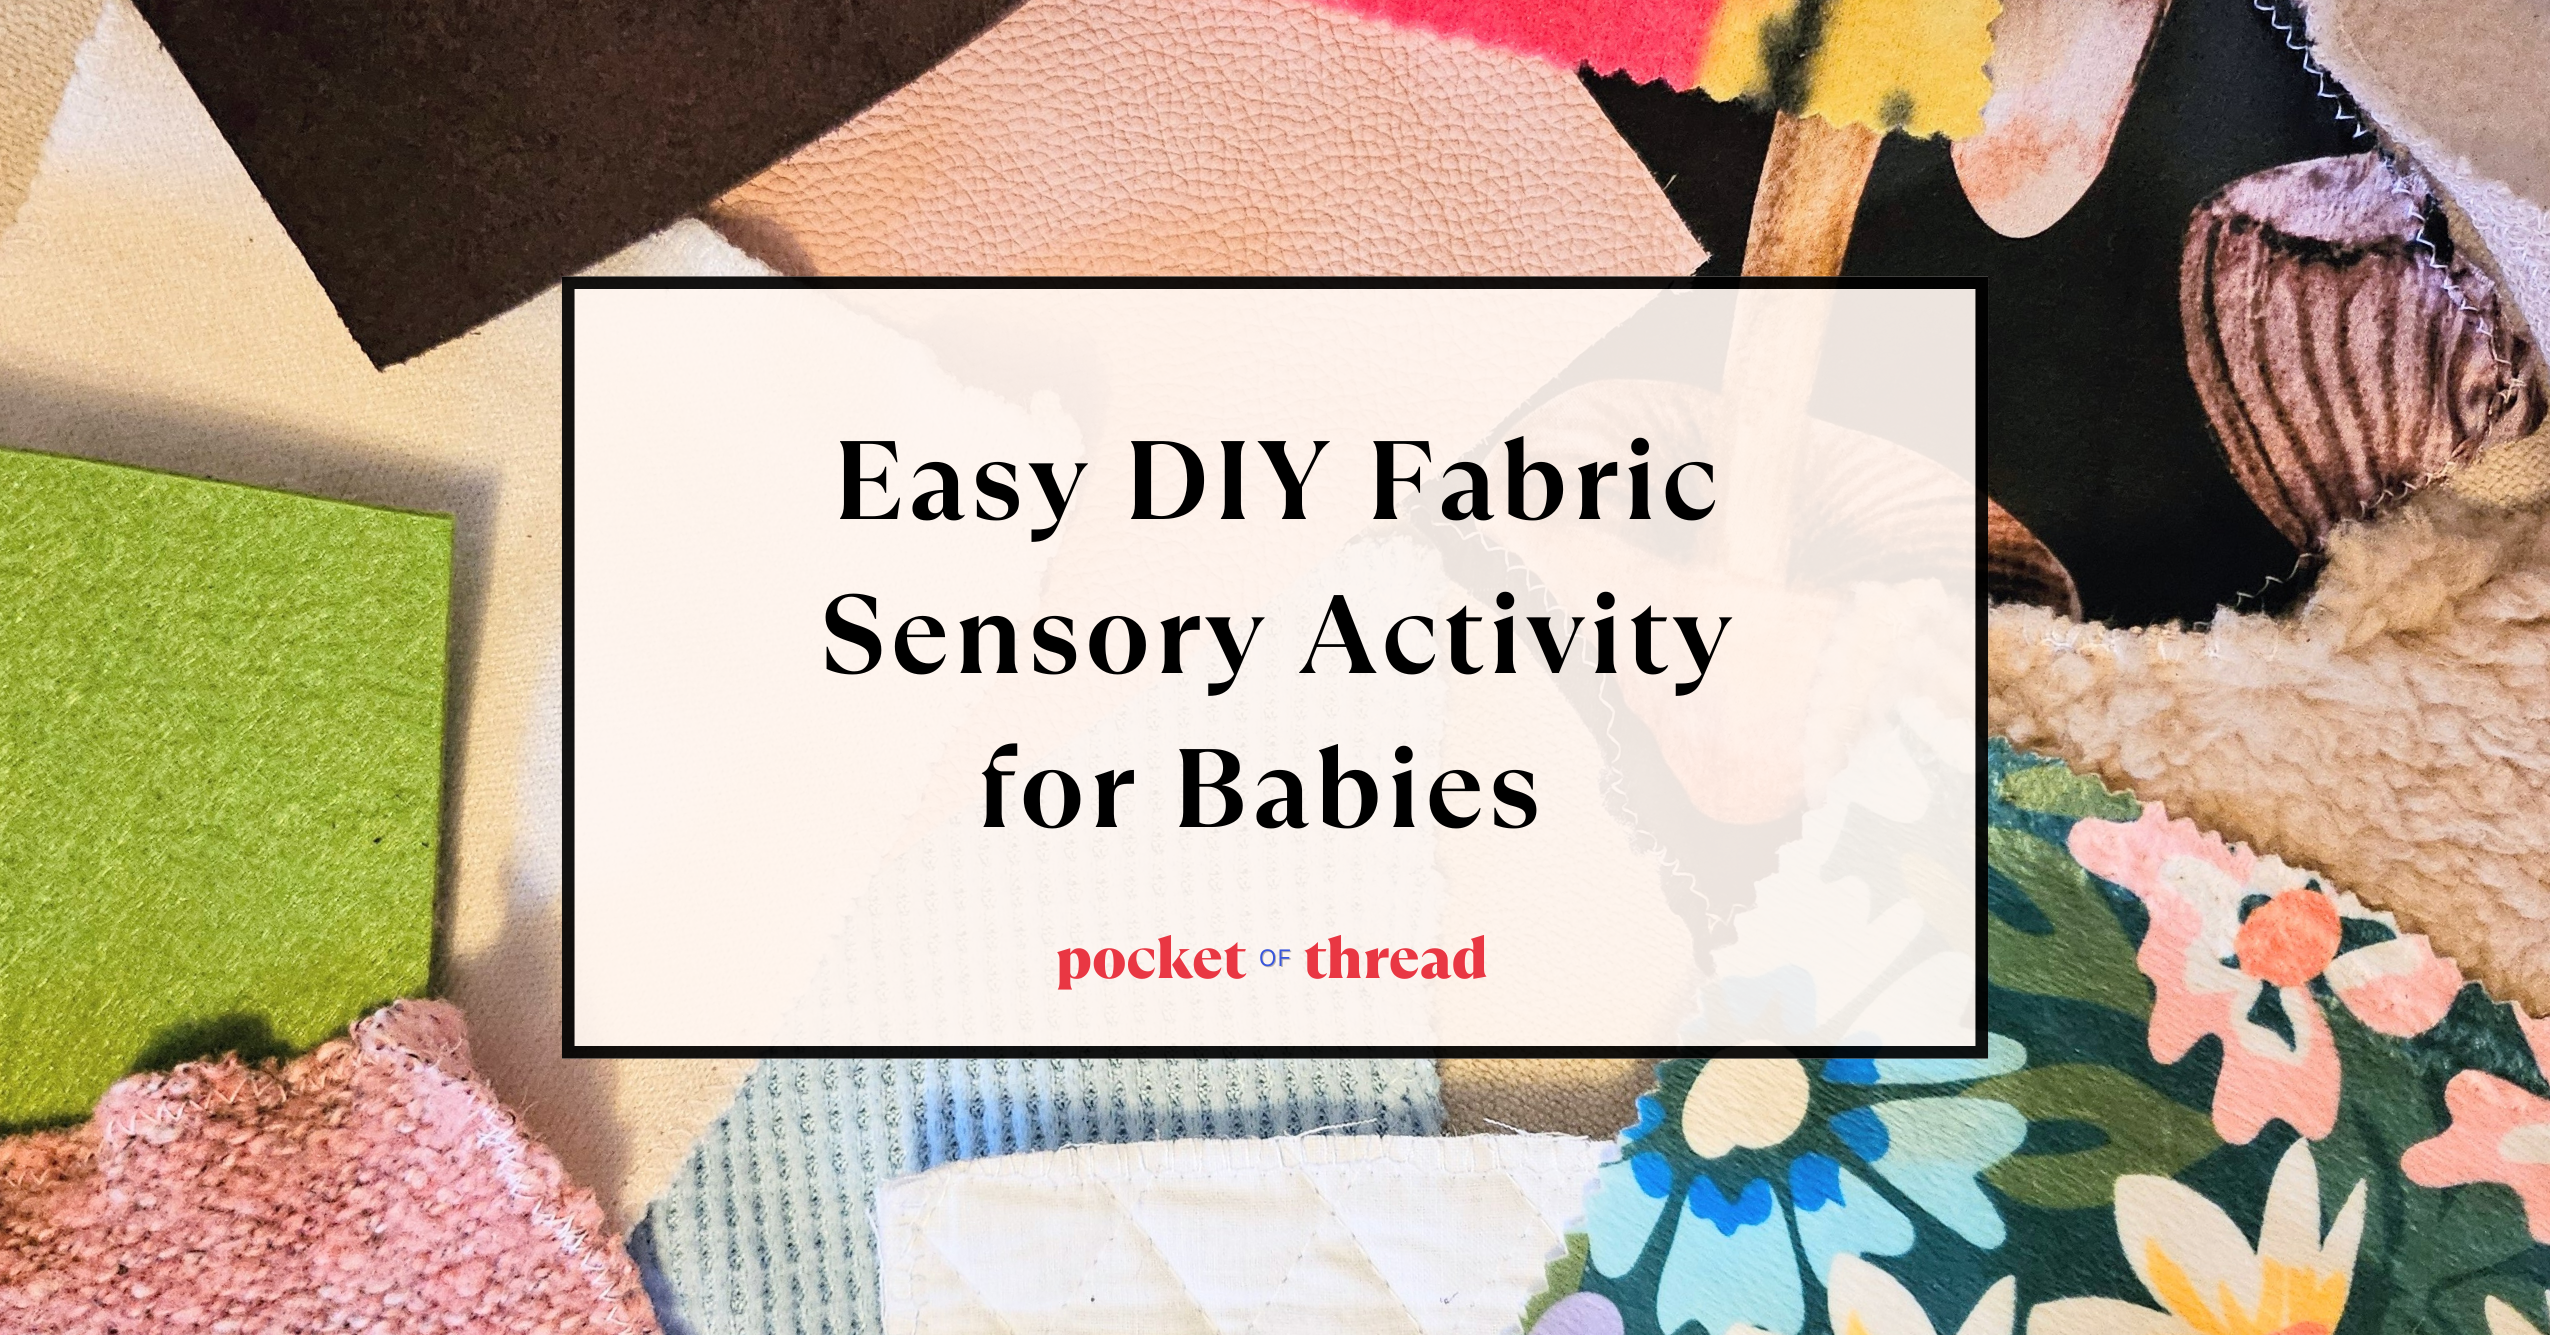
Check out this scrap-busting sensory activity you can make in minutes for the babies or toddlers in your life! Let’s be honest; at least half of the fun of sewing is collecting fabric. Okay, maybe not half, but you get my point. It’s so fun to pick out new fabric in various colors and textures, even if we don’t always get around to using it all. Well today I have a super easy DIY that you can do to make use of your scraps or extra fabric you have lying around. For this DIY I recommend using a variety of different fabrics so your little one can explore lots of different textures!
Tutorial
Materials:
- A variety of different fabrics cut into 5″x5″ squares
- Thread to finish the edges of the fabrics
- Pinking shears to finish the edges of fabrics not prone to excessive fraying
Gather all of your fabrics
For this DIY, I dug through every scrap of fabric I had and ended up choosing these:
- 2 different kinds of leather
- a silky satin
- minky (from my DIY Plush Bunny tutorial)
- teddy bear sherpa (from my DIY Plush Bear tutorial)
- a pre-quilted fabric
- thick felt
- fleece
- and 4 various knits
Since I mostly sewing clothing, most of my fabrics were soft, but I wish I had more “rough” textures to add in to the mix for contrast. Here are a few other fabrics I think would be really fun to use:
- sequin
- wool
- denim
- smocked
- velvet
- lace
- vinyl
- velour
Cut your fabric into 5″x5″ squares
I used a piece of cardboard cut into a 5″x5″ square as a template when cutting my fabric. I placed the cardboard square on top of the fabric I wanted to cut out and used my rotary cutter to get a perfect square! You can experiment with different sizes too, but I found that 5×5 was the perfect size for my 14 month-old to hold easily.

Finish the edges to prevent fraying
Many of my fabrics were prone to fraying so I used a zig-zag stitch around the edges to seal in the fabric. If you have a serger, you can use that, but really any decorative edge stitch on your regular machine will work just fine. I wasn’t too fussy about neatness for this project since it’s a toy for a baby that will inevitably get mangled over time, but you could finish the edges with trim or binding if you wanted to get fancy with it!

Let your baby or toddler have fun exploring the textures!


Baby A really enjoyed sorting the fabric into piles and rubbing them on her face to gauge their softness. She also thought it was fun to use them as rags to play “clean up” and wipe the sofa and the floor. She’s currently in the “must scratch everything” phase too so each square got a good scritch-scratch. We’ve already gotten a lot of mileage out of this easy DIY and I plan to add more to her collection as I have more scraps to use up.
