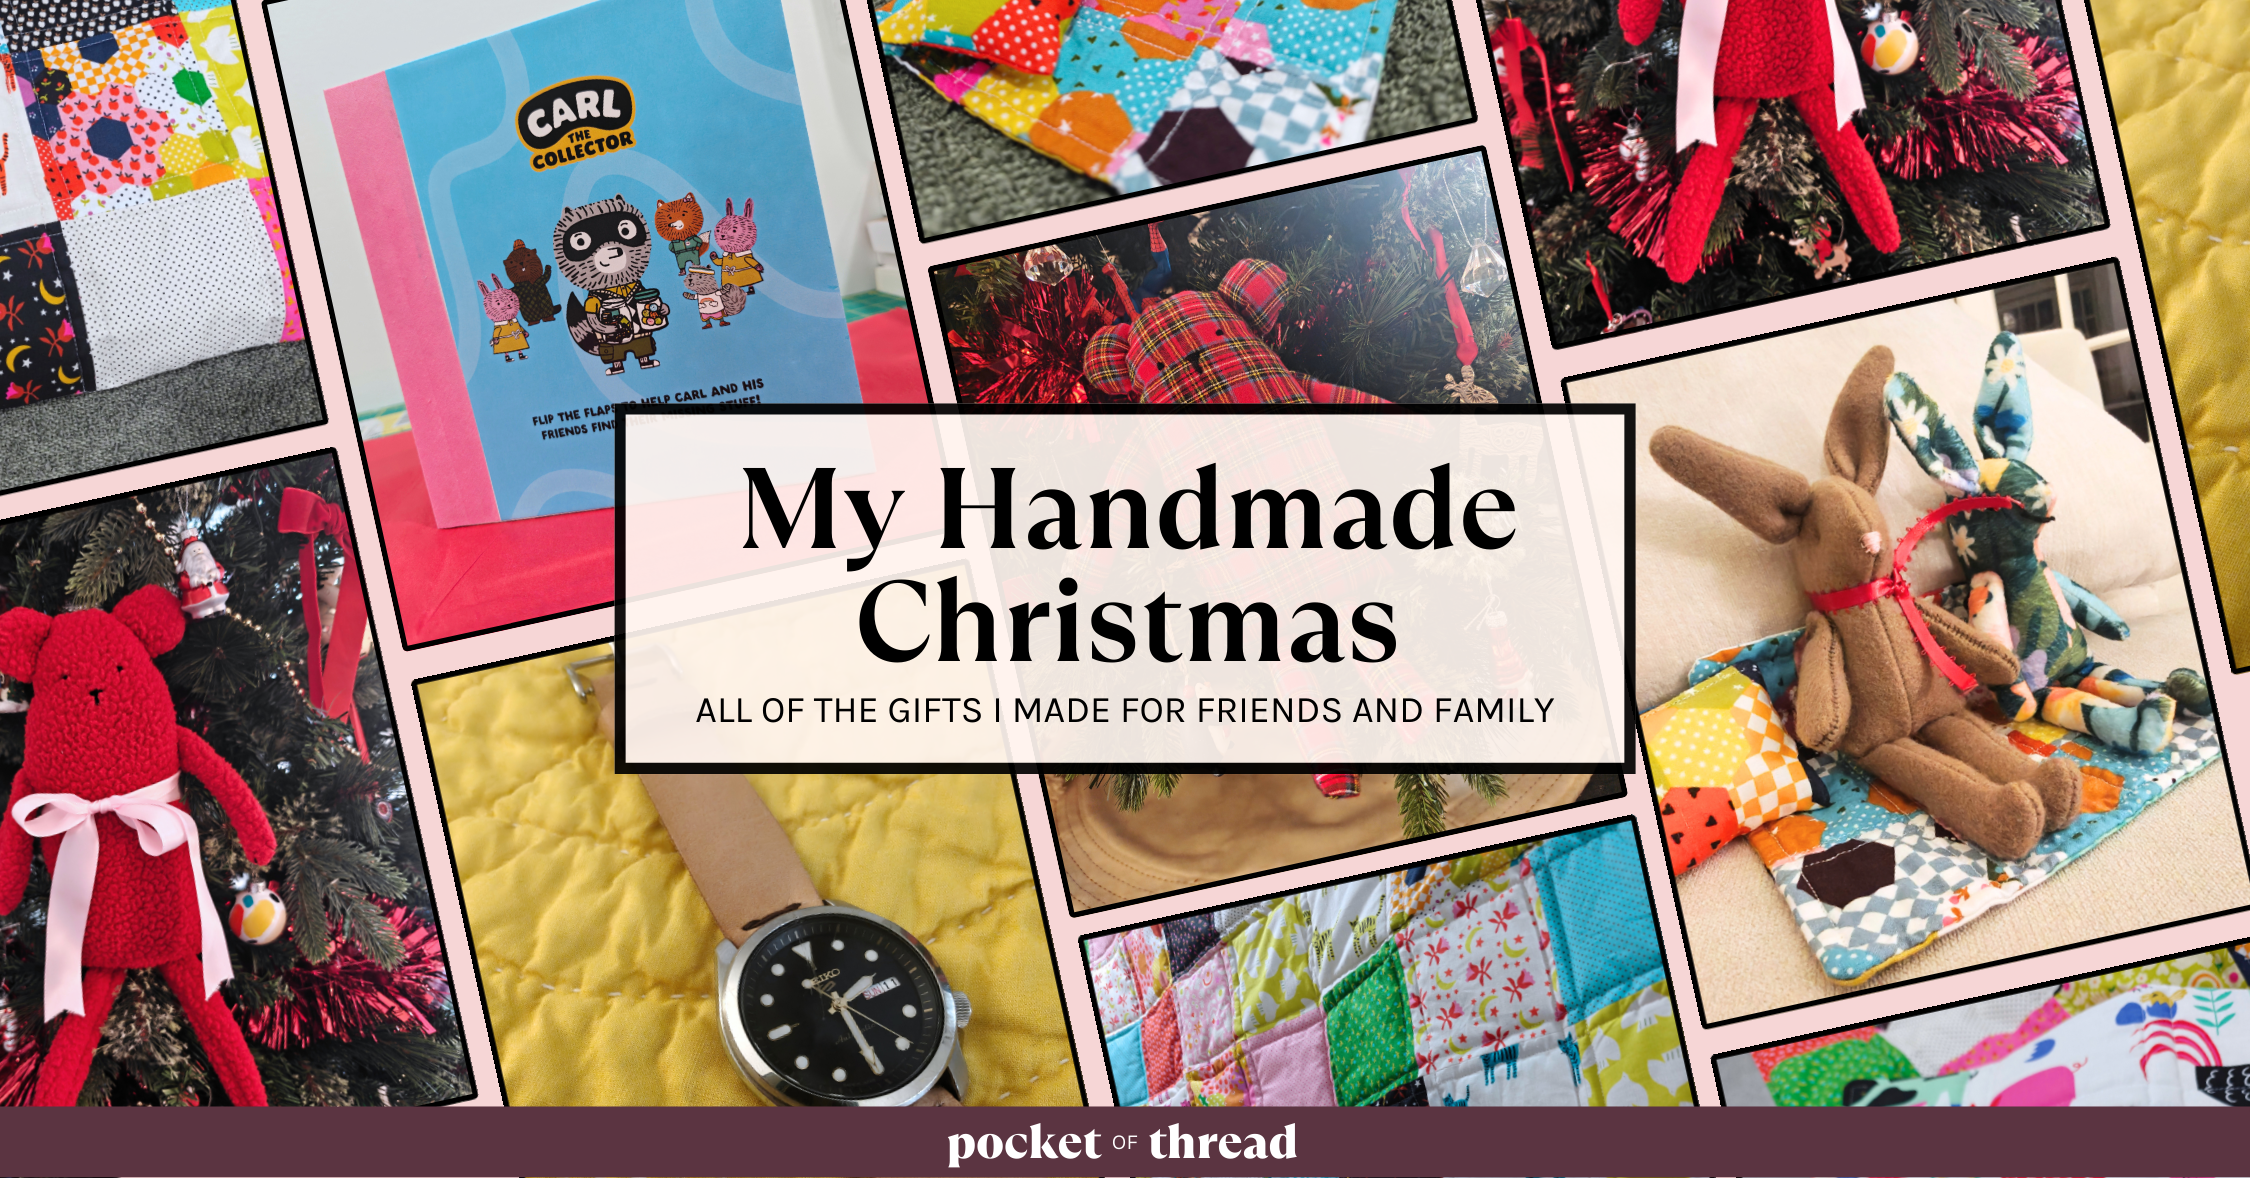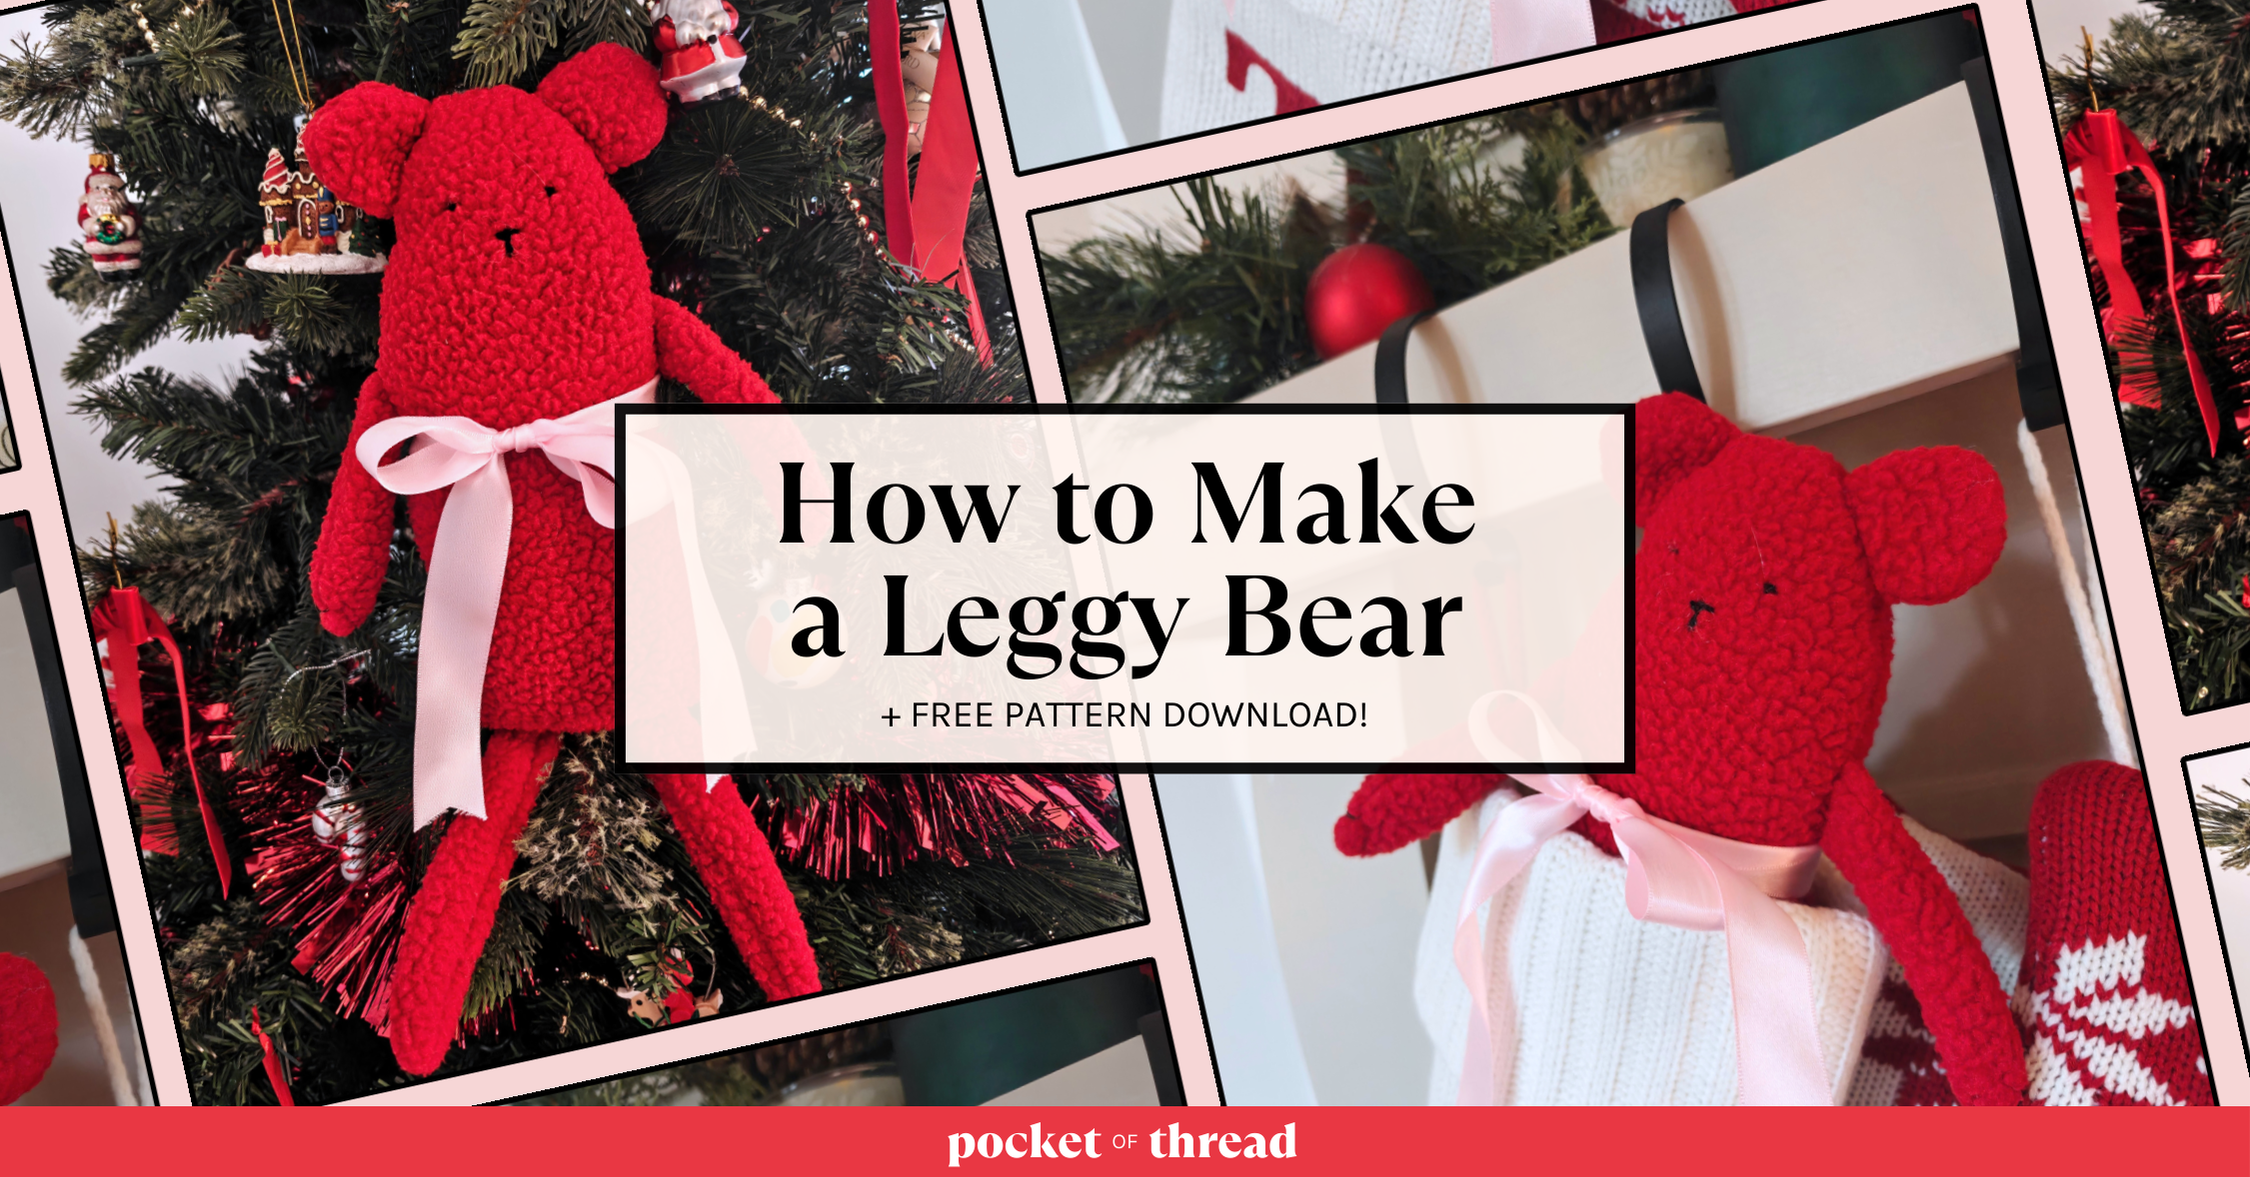
Have you ever wanted to make a custom plush teddy bear? Today I’ll show you everything you need to know to make the perfect teddy bear from scratch to give to a child (or adult!)! Scroll down the the bottom of the post to download the free pattern too!
Intro
I love making and giving little stuffies to the little kiddos in my life. Recently, some friends of mine had a new baby so I wanted to make her a bear to give her for the holidays. This bear is extra leggy, making it easy for tiny hands to grasp and snuggle. You can download the free pattern to make this bear at the bottom of this post!
A few tips:
1. Sherpa and faux fur fabric sheds A LOT when you cut and handle it so be prepared for a bit of a mess.
2. Sew slowly around the small curves of the ears and legs, pivoting as you go. You may even want to just use the hand wheel for some of these spots.
3. Adding an embroidered face can give it some extra personality.
4. Wash and (lightly) dry your bear before gifting it to remove any threads or loose bits of stuffing.
Materials:
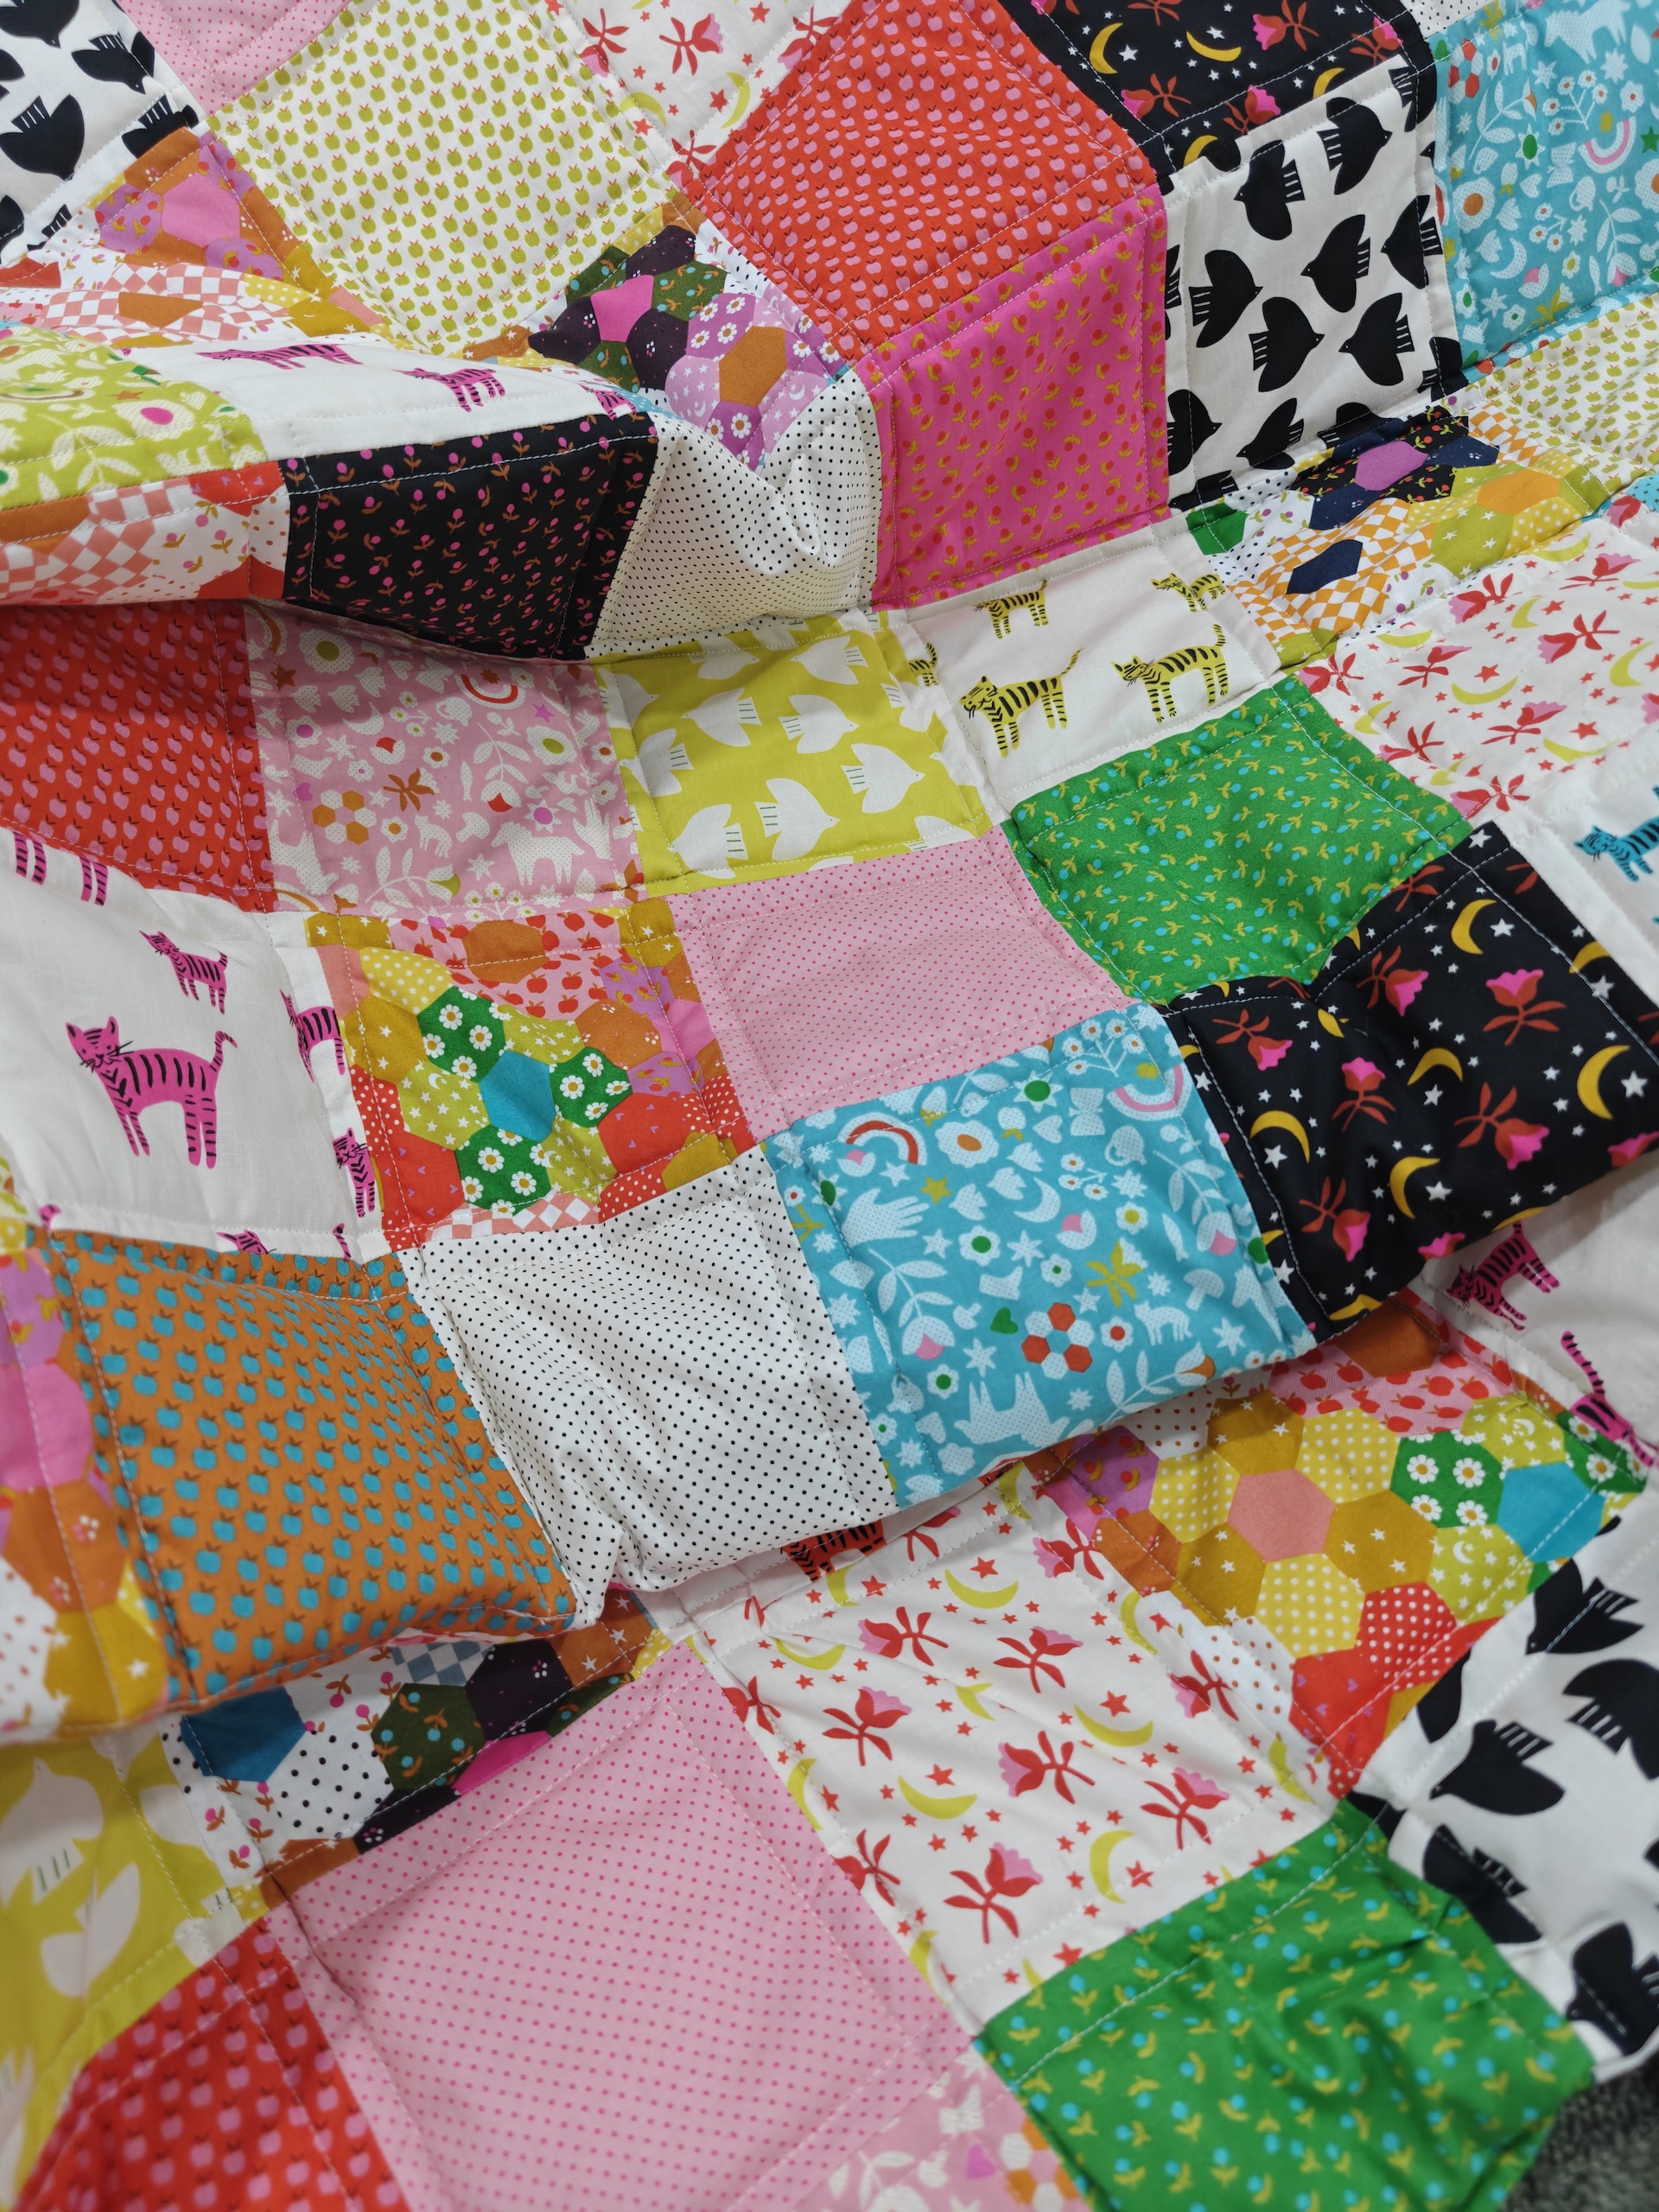
- 1/4 yard of fluffy fabric like sherpa, fleece, boucle, faux fur, or even a quilted fabric. (Or really any scrap of fabric about the size of two pieces of printer paper.)
- Matching thread and bobbin
- Pins or clips
- Sharp fabric scissors
- Needle and thread for hand sewing the small opening
- A few handfuls of polyfill stuffing (optional)
- Embroidery thread and needle for adding a face (optional)
Care Instructions:
To ensure your bear lasts a long time, only hand wash your bear and lay it out to dry. If you must put it in the washing machine, wash it on a cool, delicate cycle and put it in a garment bag to make sure the fabric doesn’t matte or snag. If you’re working with sherpa or another fluffy fabric, NEVER put your bear in the dryer because the fabric will matte and lose its softness. However, if you decide to use flannel, cotton, or another non-fluffy fabric drying it on a gentle cycle should be fine.
Tutorial:
1. Cut out the pieces in your fabric
You’ll need 2 body pieces, 4 pieces for the ears, and 4 pieces for the arms. I used a knobby teddy bear fabric but you could use any plush fabric like fleece, boucle, or quilted fabric.


2. Pin and sew the arms and ears
With right-sides together, pin (or clip) the arm, leg, and ear pieces and sew around the curve with a 1/4″ seam allowance, leaving just the bottom open. You should now have two arms, two legs, and two ears!
Then, trim the excess fabric from the seam and turn the arms and legs right-side out. I like to place a large straw inside and then poke down into the straw with a stick (like a knitting needle or cut skewer) to help me turn the small pieces inside out.


3. Pin on the arms, legs, and ears
To keep the arms, legs, and ears in place as you sew the body pieces together, pin them onto the right side of one body piece.
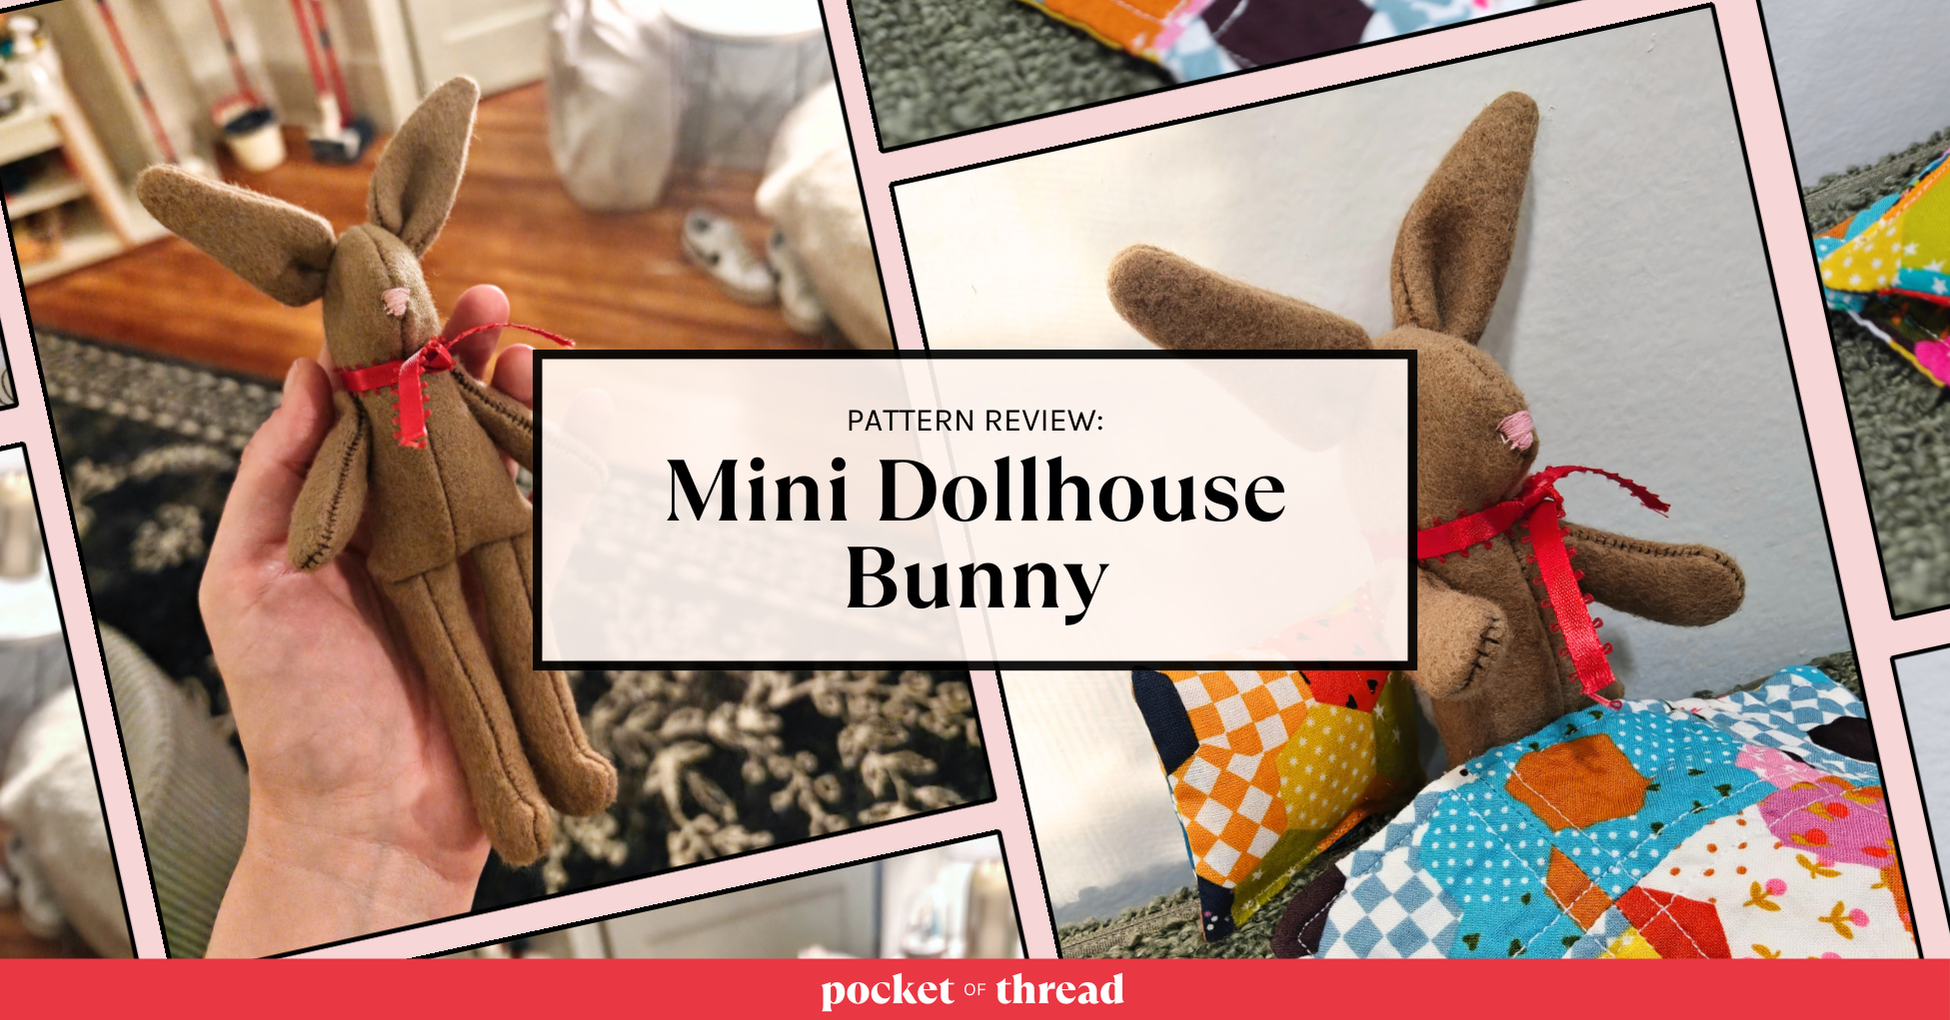
Tip: If you wanted to make a bunny version, you could make the ears really long!

4. Pin and sew the body pieces together
With right-sides together, pin or clip the two body pieces in place and be sure to tuck in the arms, legs, and ears. Sew close to the edge, leaving a ~2″ opening so you can turn the bear right side out. Then, trim away any excess seam allowance and turn your bear right side out. You’re nearly done!


5. Add stuffing
Since my fabric was so fluffy, I didn’t add any stuffing to the arms, legs, or ears, but you absolutely could if you wanted a stiffer bear. I added a good amount of polyfill stuffing to the body just to give it a little more shape, but you could add as much or as little as you want! Since I was making this one for a baby, I wanted it to be pretty squishy, rather than stiff.

6. Stitch the opening closed
Using a ladder stitch, sew the opening closed and then you’re all done!

7. (Optional) Sew on a face
I will not pretend that I have any real competency in embroidery so I will not show you a tutorial for this part. 🙈 For simplicity, I added two small eyes and a simple nose, because that was all I felt I could reasonably manage. At some point, I would like to try safety eyes and noses since that will really make faces easier for me, but I haven’t tried those out just yet. If you have any embroidery tips for faces, please share them!

Final Reveal!


I also made a version with a soft plaid flannel that turned out super cute! My daughter calls this one “Christmas Bear.” 🥹


While I was making this pattern, I realized that the bear’s body turned out a little longer than I wanted, so I adjusted the pattern and made it just a little shorter than the one pictured in this tutorial. I plan to make so many of these in different fabrics to give as gifts this year and I made a list below of all the variations I want to try out too. I hope you enjoy this free pattern and if you make this bear, tag me on Instagram (@pocketofthread) so I can see!
Customizations:
There are lots of ways you could customize your bear to make it extra special!
- Try out different fabrics
- Sew on a face
- Use more (or less) stuffing
- Use contrasting ears or arms
- Add a custom label or tag
- Add a felt heart inside (like they do at Build-A-Bear!)
- Give your bear a ribbon scarf