If you’ve been wanting to make a quilt, but aren’t sure where to start, this guide is for you! I will walk you step-by-step through the entire process of making your first quilt so you can make something extra special for your own home, or to give as a gift. This tutorial is designed for absolute quilting beginners and features a super simple finishing method that doesn’t include binding (yay!). This is a multi-part series so feel free to revisit any steps along the way!
Materials Needed:
- Pre-cut cotton fabric (I HIGHLY recommend pre-cut squares for your first quilting project. The amount will depend on the size of your finished quilt.)
- Coordinating thread
- Batting (I prefer 100% wool but you can also use cotton, polyester or a poly/wool blend. For this project, I’m using this wool batting.)
- A single piece of fabric for the back of your quilt. The size will depend on the final measurement of your quilt top. (Cotton works great, but you could also use flannel, fleece, or most other non-stretch fabrics as well.)
- No binding needed since we’ll be using an “inside-out” finishing method instead!
Gather Your Supplies
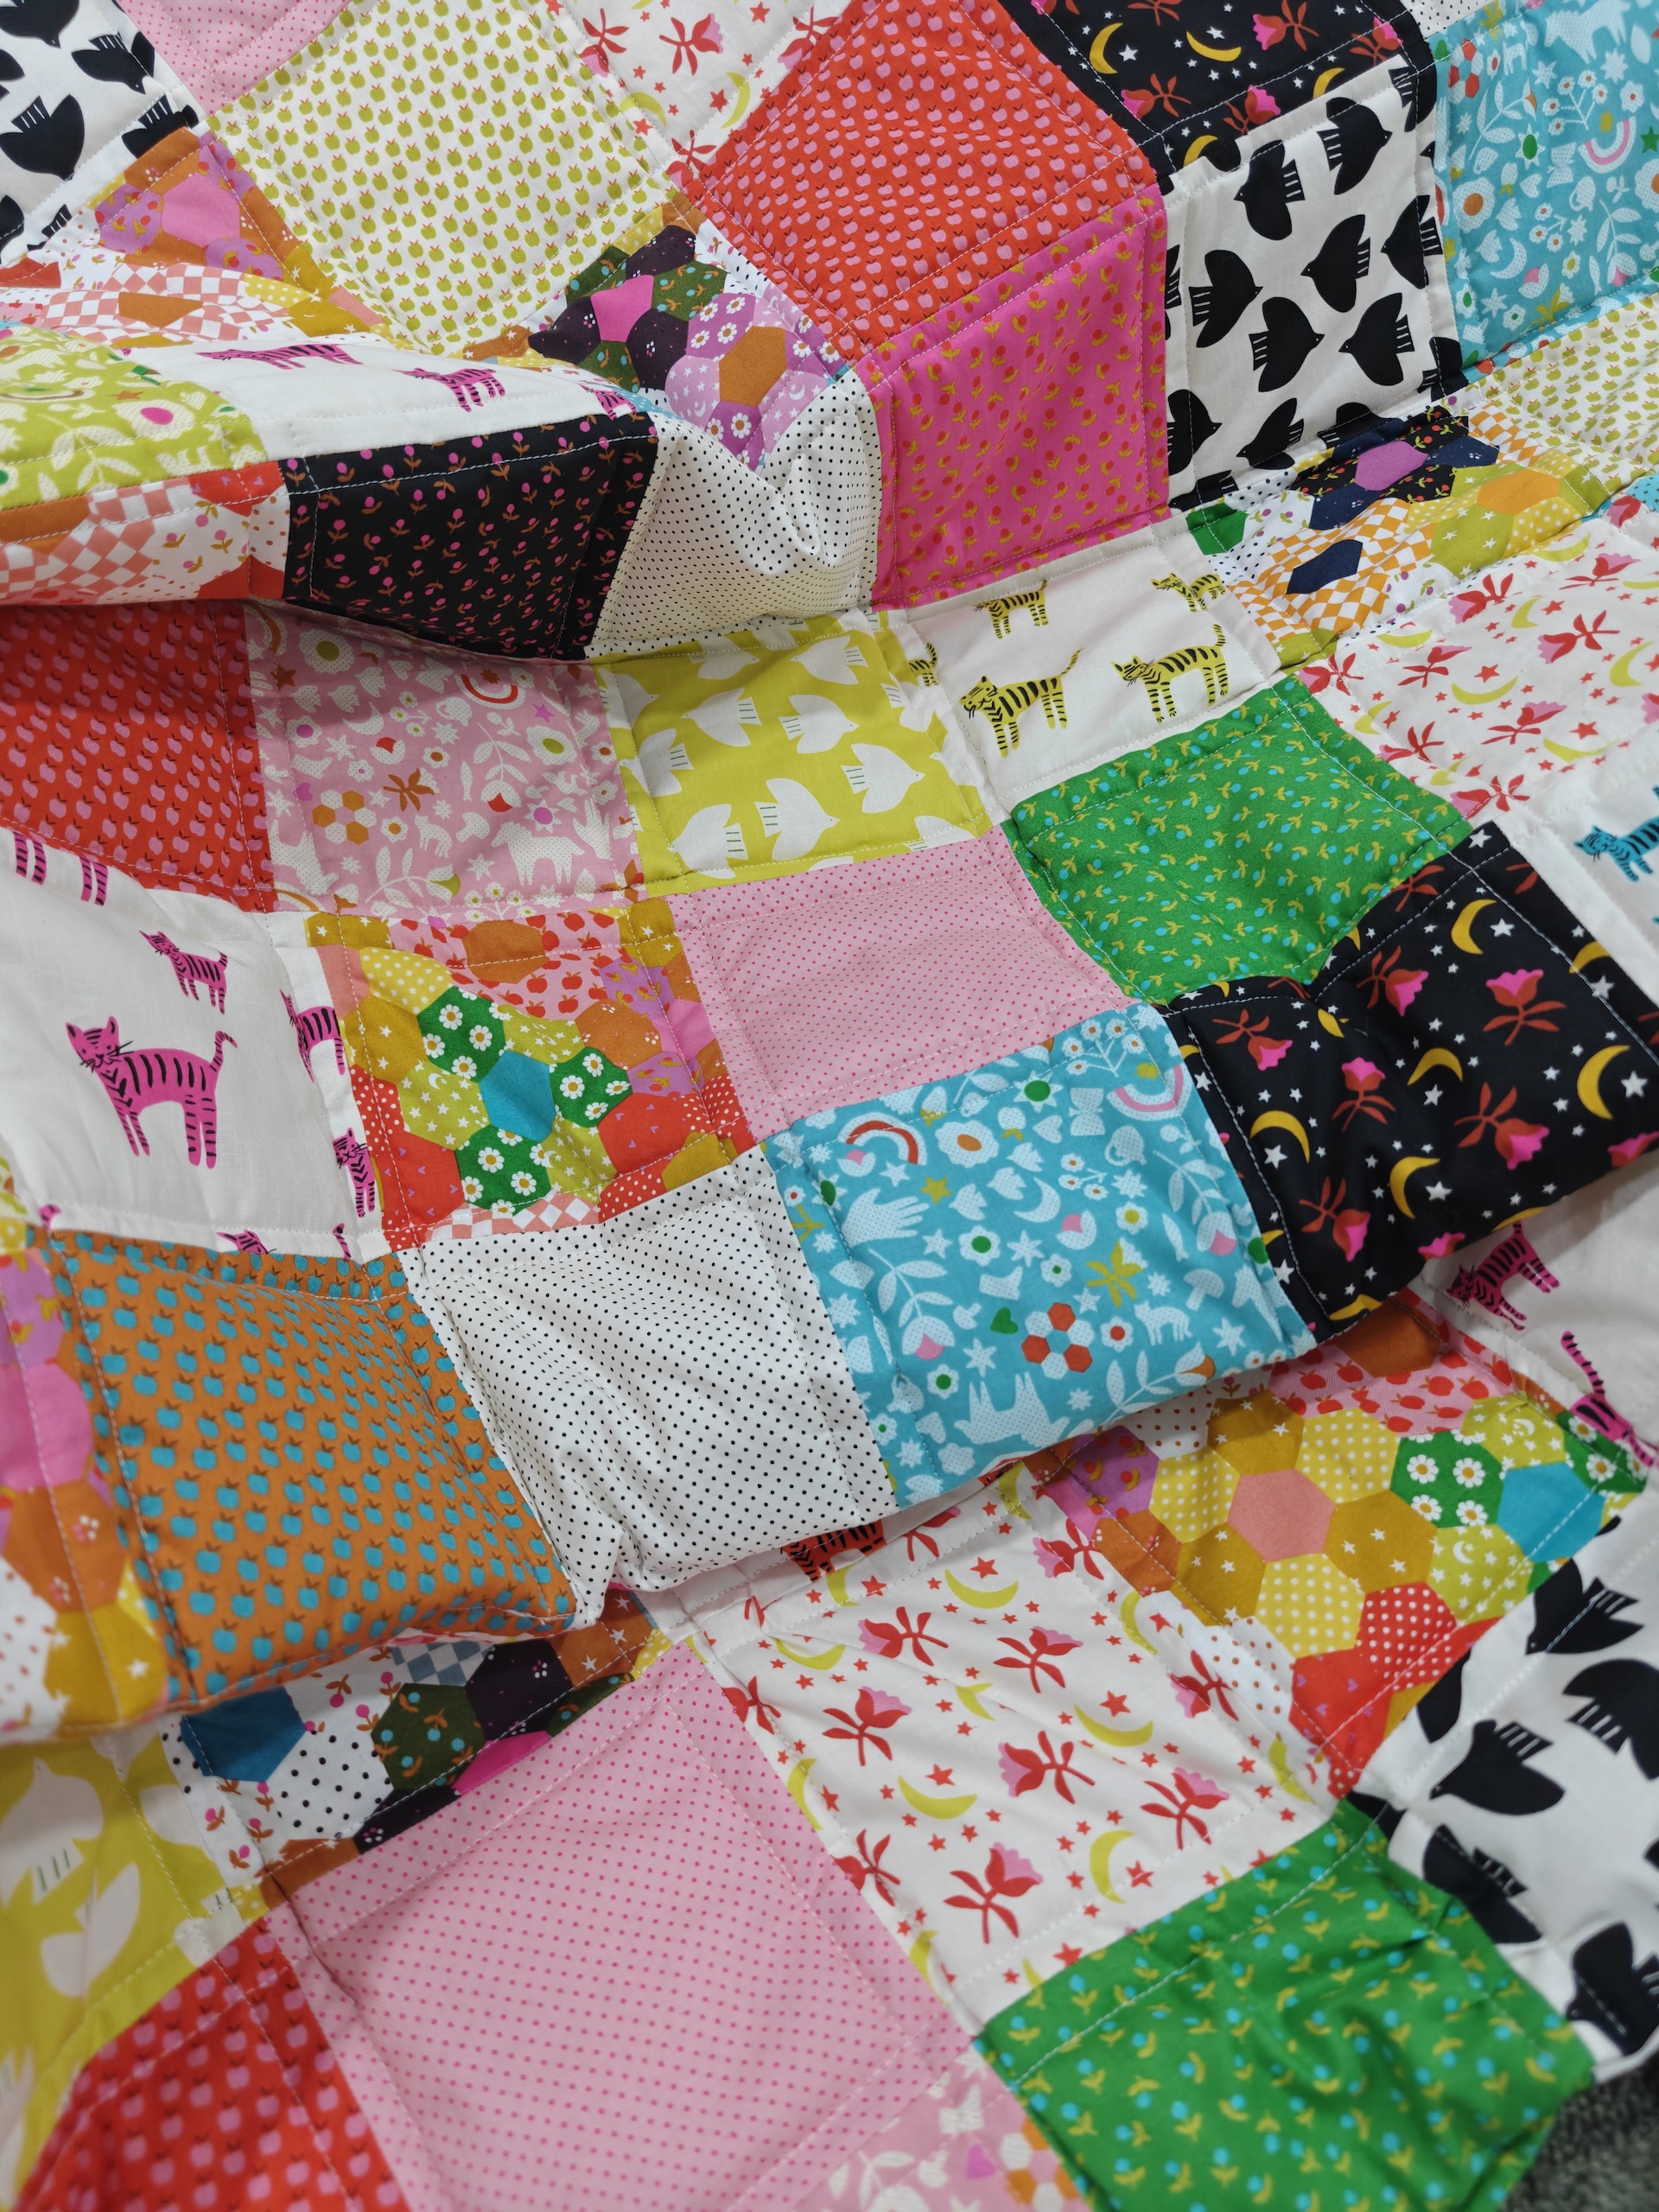
I recently visited a local fabric store and bought 6 packs of the cutest 5″ pre-cut cotton squares. I wasn’t totally sure what size quilt I was going to make yet so I went a little crazy to make sure I would have enough. I love the color palette of these packs and this is a great way to ensure your quilt has lots of variety in color and patterns without having to source all of the fabrics yourself.

Create Your Pattern
Now is a good time to decide what size quilt you plan to make. I knew I wanted to make a small quilt for my toddler, but I wasn’t exactly sure what size that would be. I ended up choosing ~35″ x 50″ (with some wiggle room for binding and seams) so that it would fit snug in her toddler bed. I also didn’t want my first quilt to be something huge which just sounded unwieldy and difficult to manage.
I started to lay out my squares to create the pattern I wanted and to get a feel for the size. Aren’t these just the cutest fabrics? I’m obsessed with the cats. ❤️
If you’re feeling ambitious, you can absolutely use a pack of solid color squares and either follow a quilt pattern or create your own, but I really liked the randomness this pack provided me so I just leaned into it. Once you’ve settled on your design, take a photo of it! This way, you’ll have a reference if you need to move your project or if your cat climbs all over it and messes it up. It’s also very handy to reference when you’re sewing your rows together like in Part 2.


Sew The Rows
For simplicity, I set my needle position to the far right and used the edge of my presser foot as my stitch guide. For me, this is roughly a 1/4″ which was perfect. With right sides together, I stitched two squares together. When that pair was finished, I opened them up and laid the next piece on top of the right-most square and sewed. I repeated this until I finished one row.


Now, here you can see that the 1/4″ seam allowance on each square really added up and made my row far shorter than I wanted. By adding one more square onto the row, my problem was solved!

Experienced quilters would tell you to lay out ALL of your squares on a huge table or the floor and then sew columns in pairs instead of horizontal rows to make things go much quicker. This absolutely makes a ton of sense, however my table isn’t large enough and my floor was a bit of a mess, so I decided to work with horizontal rows instead. Yes, this does mean more thread snipping, but I don’t mind. I actually find the process meditative and since this is a relatively small project, it sews up fairly quickly regardless.