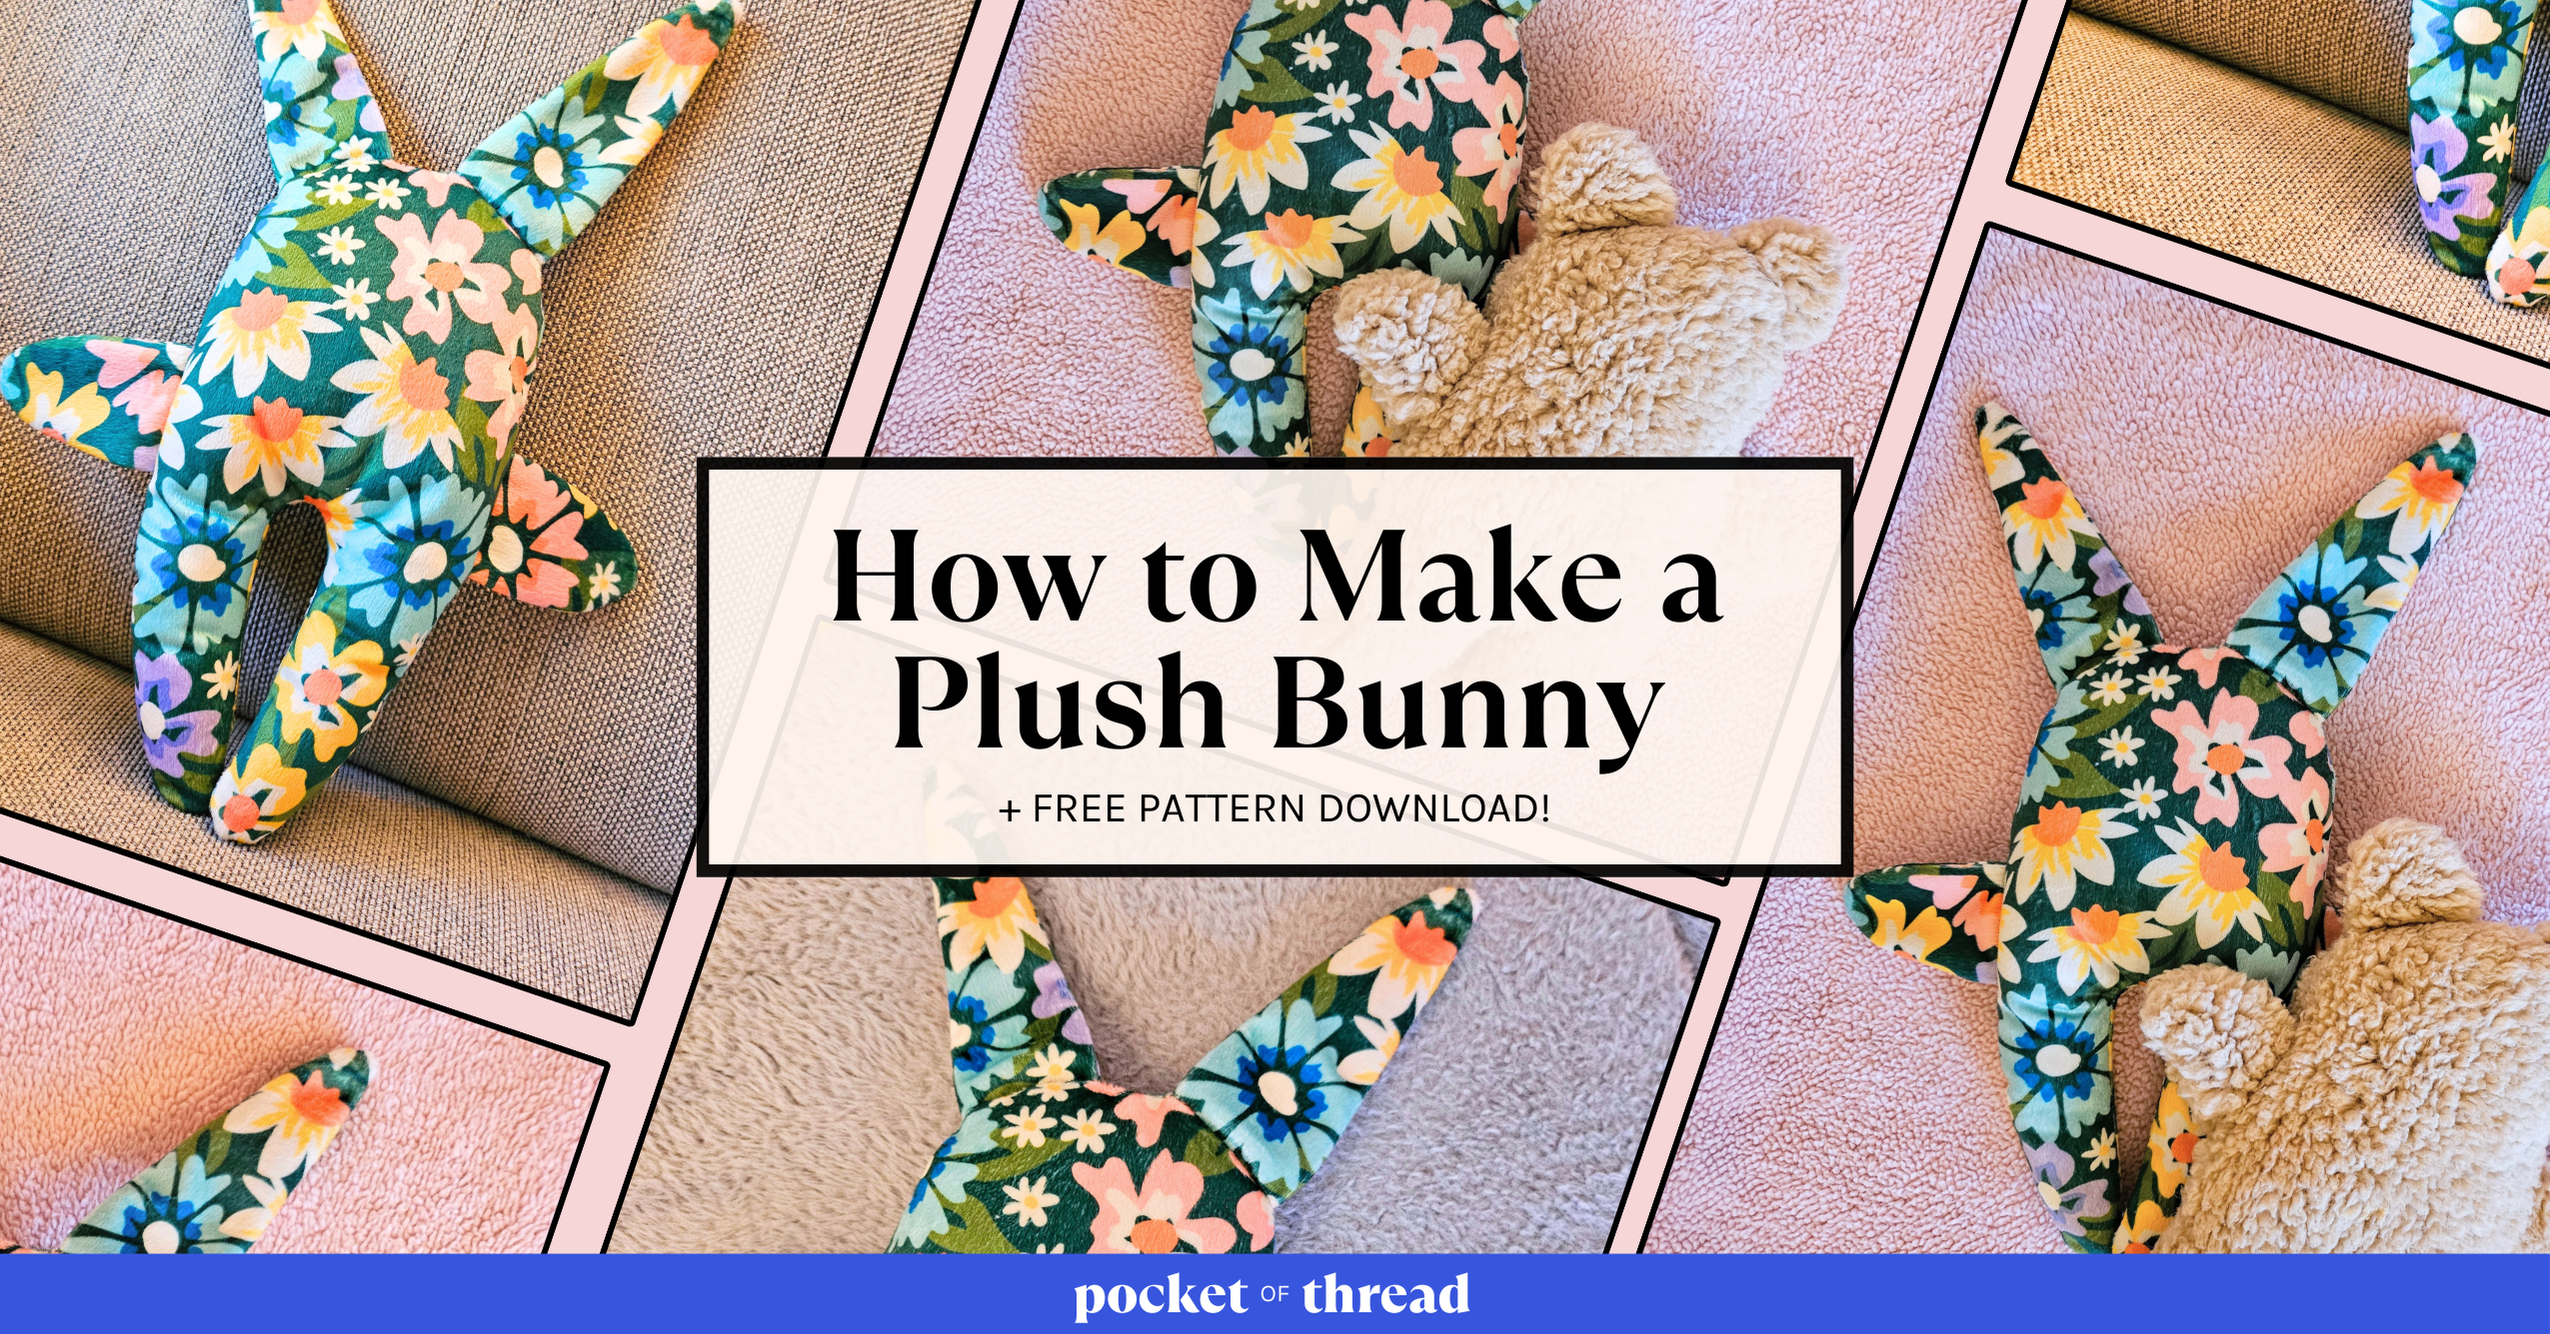
Making your own stuffed animals is easier than you might think! In less than an hour, you can make this adorable plush bunny in a wide variety of fabrics to give as a gift to a special kiddo (or kiddo at heart!). In this post, I’ll share each step for making your very own bunny and be sure to scroll to the bottom for your free downloadable pattern! Happy sewing:)
Fabric Recommendations:
If you’re making this pattern for a baby, I highly recommend using a soft or fluffy fabric. Here are a few of my favorites:
- fleece
- minky (that’s what I used in this tutorial!)
- flannel
- sherpa
- faux fur
Customizations:
There are lots of ways you could customize your bunny to make it extra special!
- Try out different fabrics
- Sew on a face
- Use more (or less) stuffing
- Use contrasting ears or arms
- Add a custom label or tag
- Add a felt heart inside (like they do at Build-A-Bear!)
- Give your bunny a ribbon scarf or bow
Materials:
- 1/4 yard of fabric (Or really any scrap of fabric about the size of two pieces of printer paper.)
- Matching thread and bobbin
- Pins or clips
- Sharp fabric scissors
- Needle and thread for hand sewing the small opening
- A few handfuls of stuffing
Optional:
- Embroidery thread and needle for adding a face
- a label or tag
1. Cut out the pattern pieces and fabric
This pattern can be printed on a single sheet of paper so no need to worry about taping and trimming pattern sheets! Just cut out the three pattern pieces that you’ll need along with all the pieces in your fabric.


2. Sew the arms and ears, finishing the edges
Just like with the bear pattern, sew the arm and ear pieces with right-sides together. If you’re using a fabric that is prone to fraying, be sure to seal in the edges with a zig-zag stitch.

3. Turn the arms and ears right-side out
Use a knitting needle, pencil, or other pointy object to turn the points of your ears all the way out, then, press your arm and ear pieces with an iron so they lay flat. This will be helpful for the next step.

4. Pin or clip the arms and ears in place on the right side of one body piece
You can either baste the arms and ears onto one body piece (like we did in the bear pattern) or you can just sew them on along with the the body piece as a “fabric sandwich.” I pulled the arms and ears out of the body pieces slightly so I could make sure I stitched through them.

5. Place the other body piece on top, right-sides together, pin, and sew along the edges
Sew around the “fabric sandwich” with a 1/4″ seam allowance and leave a ~2″ opening so you can turn your bunny inside-out. Don’t forget to backstitch!


6. Finish the edges with a zig-zag stitch and turn your bunny right-side out
To prevent fraying, finish the edges with a zigzag stitch and turn your bunny inside out! You’re nearly done!

7. Add stuffing and close the opening with a ladder stitch
I chose to add a little stuffing to the legs and a little in the body to give my bunny more shape, but you can add as much or as little as you like.
Tip: If you don’t have polyfill stuffing, you can use fabric scraps instead!


Final Reveal!


I am so happy with the way this bunny turned out! I plan to make so many of these in different fabrics to give as gifts this year and I made a list below of all the variations I want to try out too. I hope you enjoy this free tutorial and if you make my pattern, tag me on Instagram (@pocketofthread) so I can see!
Check out the DIY Plush Bear Tutorial to learn how to make the bear pictured above!

