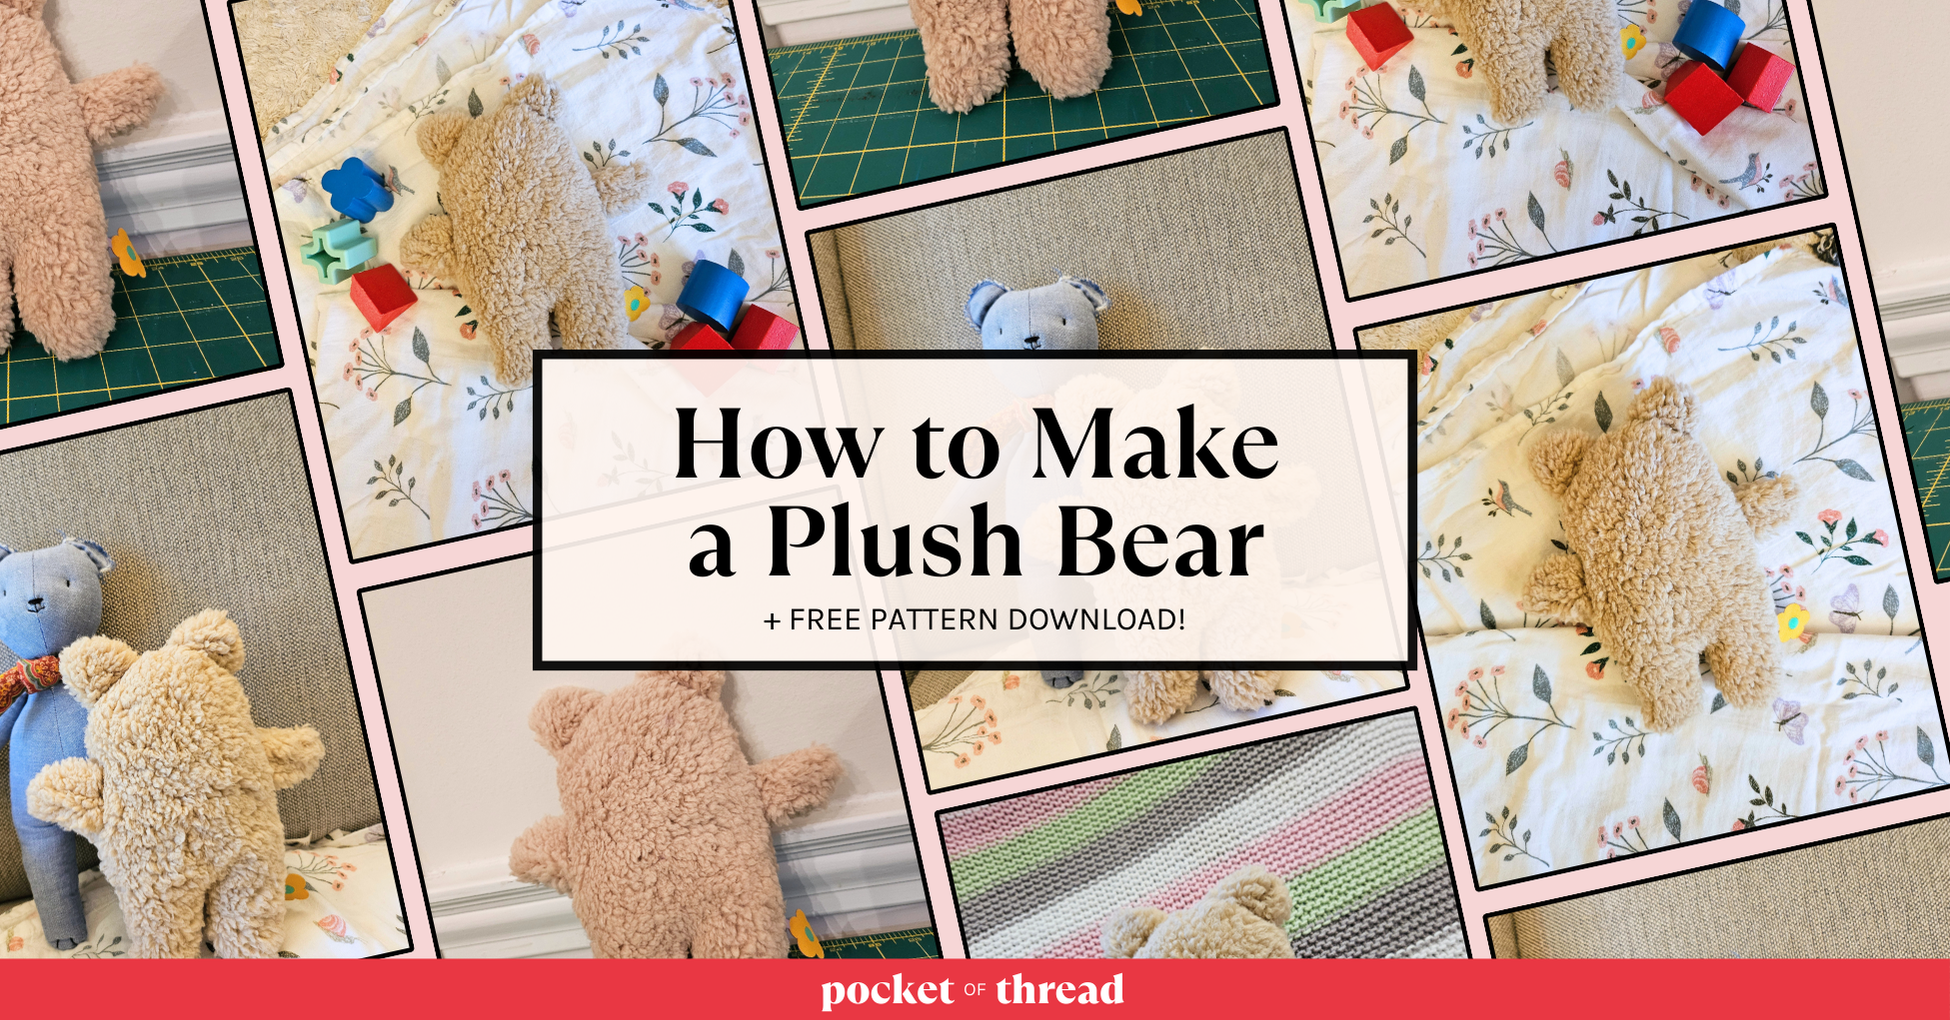
Have you ever wanted to make a custom plush teddy bear? Today I’ll show you everything you need to know to make the perfect teddy bear from scratch to give to a child (or adult!)! Scroll down the the bottom of the post to download the free pattern too!
Intro
My baby daughter absolutely loves stuffed animals, but especially teddy bears, so I wanted to make a special bear just for her. Her current favorite lovey is a super soft bunny that she likes to cuddle when she’s tired, so I wanted the bear to have a similar level of snuggliness. It needed to be small enough for her little hands to hold, but big enough to hug. I drew out a few different sketches until I landed on the proportions I liked best, then I made a pattern on large craft paper and cut it out. You can download the free pattern to make this bear at the bottom of this post!
A few tips:
1. Sherpa and faux fur fabric sheds A LOT when you cut and handle it so be prepared for a bit of a mess.
2. Sew slowly around the small curves of the ears and legs, pivoting as you go. You may even want to just use the hand wheel for some of these spots.
3. I had some cute flower labels that I got from Etsy and I thought it would be sweet to add one to this bear for a little extra twist. You could use your own labels or even a soft piece of ribbon!
Materials:
- 1/4 yard of fluffy fabric like sherpa, fleece, boucle, faux fur, or even a quilted fabric. (Or really any scrap of fabric about the size of two pieces of printer paper.)
- Matching thread and bobbin
- Pins or clips
- Sharp fabric scissors
- Needle and thread for hand sewing the small opening
- A few handfuls of polyfill stuffing (optional)
- Embroidery thread and needle for adding a face (optional)
- A label or tag (optional)
Care Instructions:
To ensure your bear lasts a long time, only hand wash your bear and lay it out to dry. If you must put it in the washing machine, wash it on a delicate cycle and put it in a garment bag to make sure the fabric doesn’t matte or snag. NEVER put your fluffy bear in the dryer because the fabric will matte and lose its softness!
Tutorial:
1. Cut out the pieces in your fabric
You’ll need 2 body pieces, 4 pieces for the ears, and 4 pieces for the arms. I used a fluffy sherpa fabric but you could use any plush fabric like fleece, boucle, or quilted fabric.
Be sure to transfer the pattern marks for the arms and ears onto your body pieces as well.


2. Pin and sew the arms and ears
With right-sides together, pin (or clip) the arm and ear pieces and sew around the curve with a 1/4″ seam allowance, leaving just the bottom open. You should now have two arms and two ears!
Then, trim the excess fabric from the seam and turn the arms and legs right-side out.


4. Baste on the arms and ears
To keep the arms and ears in place as you sew the body pieces together, baste them onto the right side of one body piece. I wanted my ears to be a little shorter than my first draft of the pattern, so you can see I stitched them lower down and then just cut away the excess. (The ears are shorter in the downloadable pattern version)
Tip: If you wanted to make a bunny version, you could make the ears really long!


5. Pin and sew the body pieces together
With right-sides together, pin the two body pieces in place and be sure to tuck in the arms and ears. Sew close to the edge, leaving a ~2″ opening so you can turn the bear right side out. Then, trim away any excess seam allowance and turn your bear right side out. You’re nearly done!


6. (Optional: Add stuffing)
Since my fabric was so fluffy, I didn’t add any stuffing to the arms or ears, but you absolutely could if you wanted a stiffer bear. I added a small amount of polyfill stuffing to the legs and body just to give it a little more shape, but you could add as much or as little as you want!.
6. Stitch the opening closed
Using a ladder stitch, sew the opening closed and then you’re all done!

Final Reveal!


I am so happy with the way this bear turned out! I plan to make so many of these in different fabrics to give as gifts this year and I made a list below of all the variations I want to try out too. I hope you enjoy this free pattern and if you make this bear, tag me on Instagram (@pocketofthread) so I can see!
Customizations:
There are lots of ways you could customize your bear to make it extra special!
- Try out different fabrics
- Sew on a face
- Use more (or less) stuffing
- Use contrasting ears or arms
- Add a custom label or tag
- Add a felt heart inside (like they do at Build-A-Bear!)
- Give your bear a ribbon scarf

