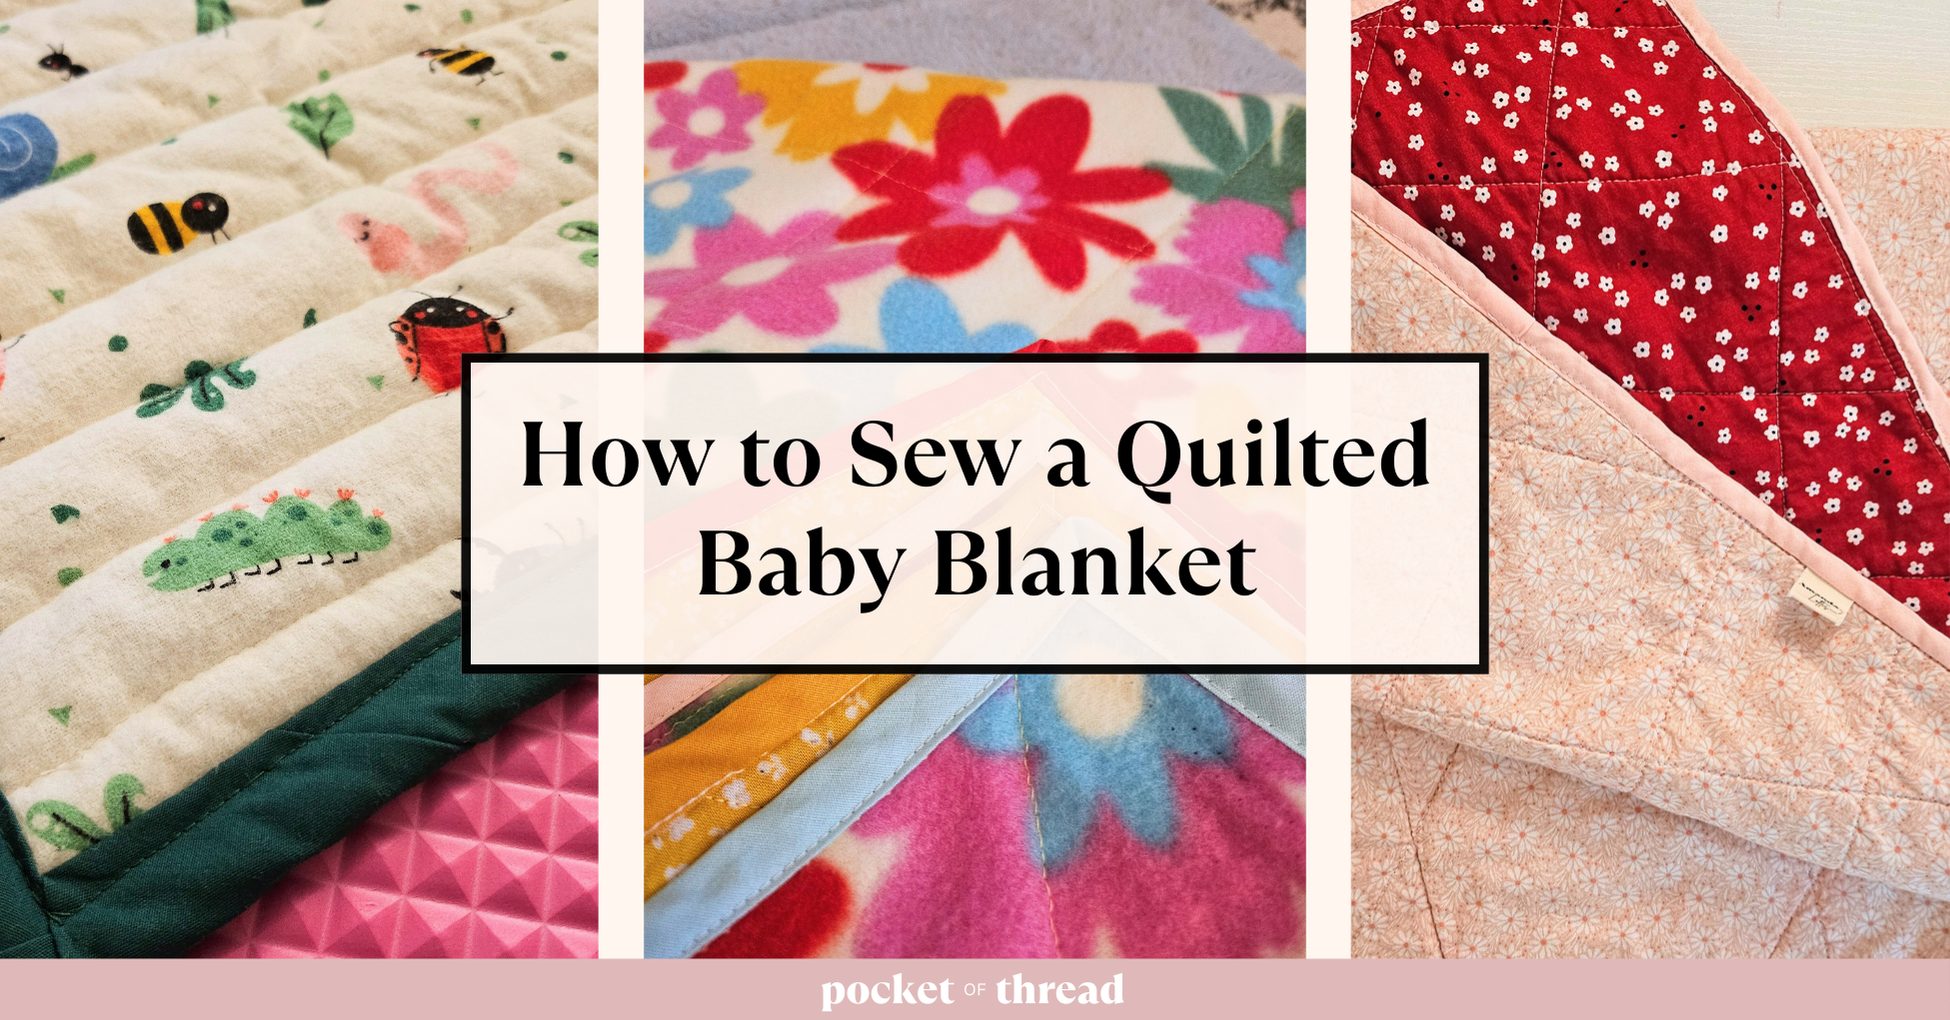
Sewing a quilted baby blanket (or a blanket of any size!) isn’t as tricky as you may think. In this post, you’ll learn everything you need to know to make your very own baby blanket to keep or give as a gift!
Choose your fabric
Quilts are known for having a layer of batting sandwiched between two pieces of fabric (typically cotton), however, there are lots of ways you can customize a quilt to your liking. You could use heavy or lightweight batting. You could choose fleece instead of batting. You can even opt to include no batting if you want a lighter blanket for the summer!
For the outer fabric, cotton is a common choice, but you can also use fleece, flannel, sherpa, or any other non-stretchy material that you prefer.
Once you’ve selected your fabrics, you can move on to the next step…
Prepare your project
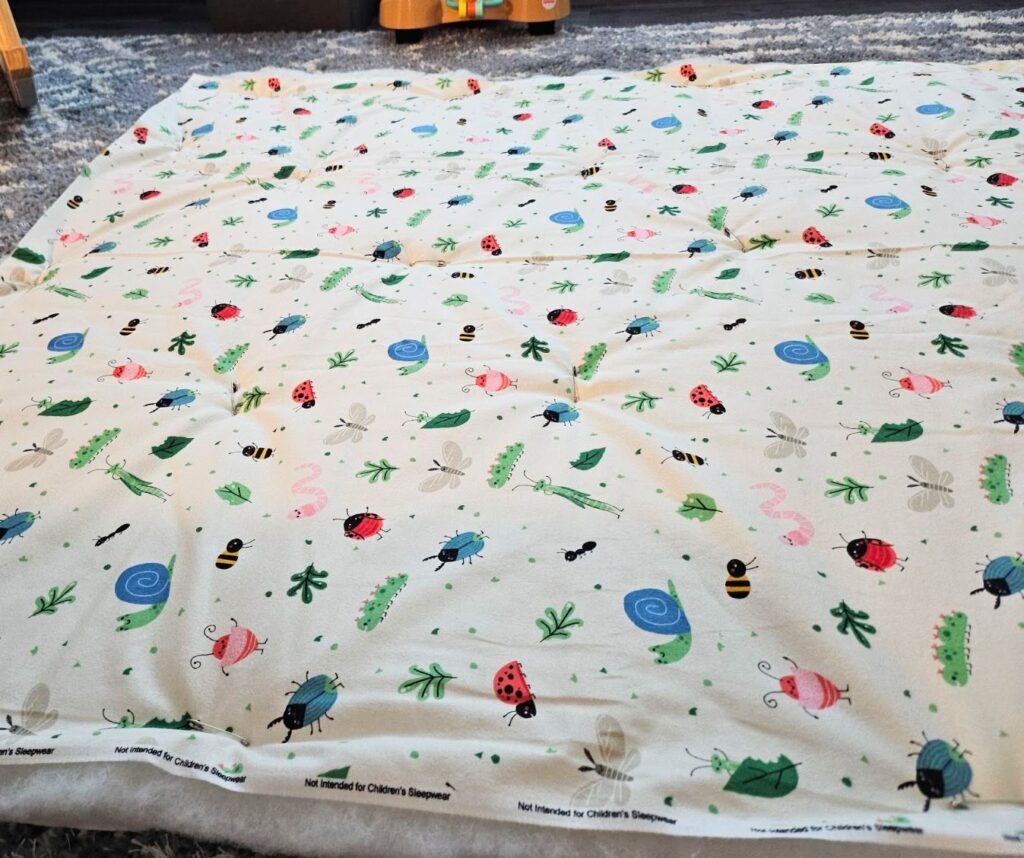
First decide what size you’d like to make. For a baby blanket, I like to make it 45″ x 60″ so that I can squeeze underneath it too with my daughter on chilly days. Batting can also come pre-cut in that size which makes this process a lot simpler. But, you can, of course, choose whatever size works best for you! Cut out two pieces of fabric that you want for the front and back of the quilt, and batting (if you’re using it) in the same size.
In order to create a quality quilt, you’ll need to sandwich your layers very carefully. Start by laying your outer fabric, right-side down. Then place your batting on top, carefully lining up all the edges. Then place your other outer fabric on top of that, right-side facing up. Using curved safety pins, pin all three layers together in multiple places all across the quilt. This will keep the layers from moving while you sew them.
Decide on a quilting design
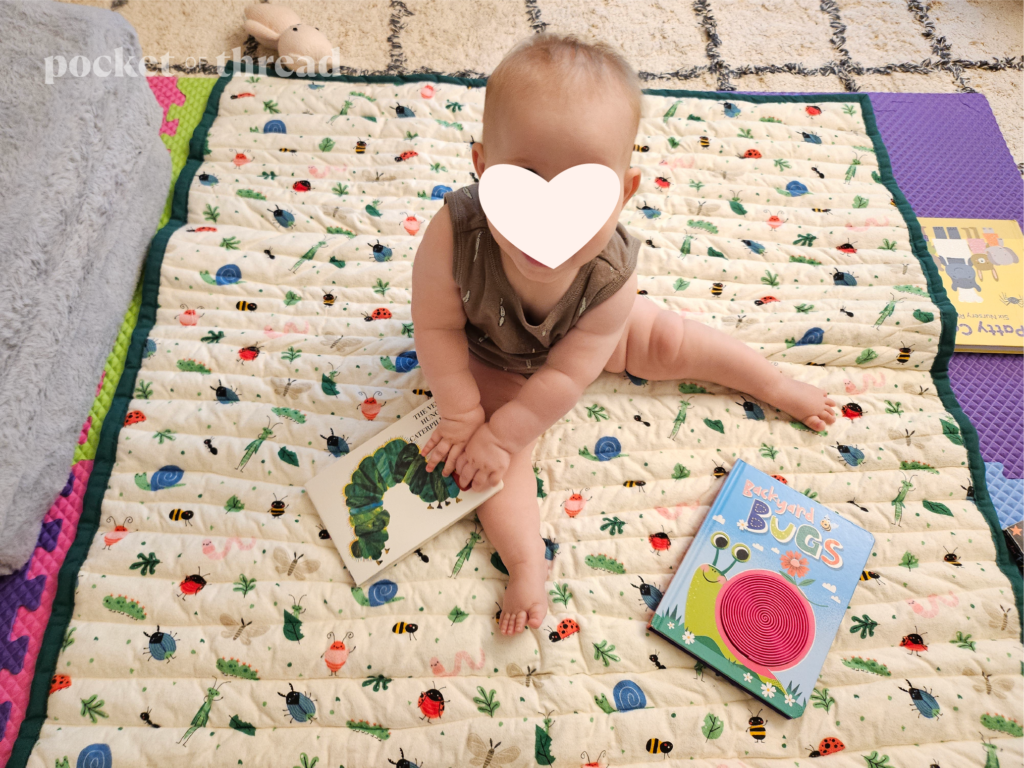
Here comes the fun (but tedious) part! What design do you want to quilt onto your blanket? You could opt for classic diamonds, thin rows, or a freestyle pattern (if you have a wandering foot for your machine). Measure out your lines and mark them onto your fabric with a fabric pencil or tailor’s chalk and sew along those lines.
Pro Tip: Use a longer stitch length for thick quilts. Also, use a smaller pattern (like close-together lines) if you want your quilt to be “puffier” and larger patterns/shapes if you want it to be flatter.
Finish the edges
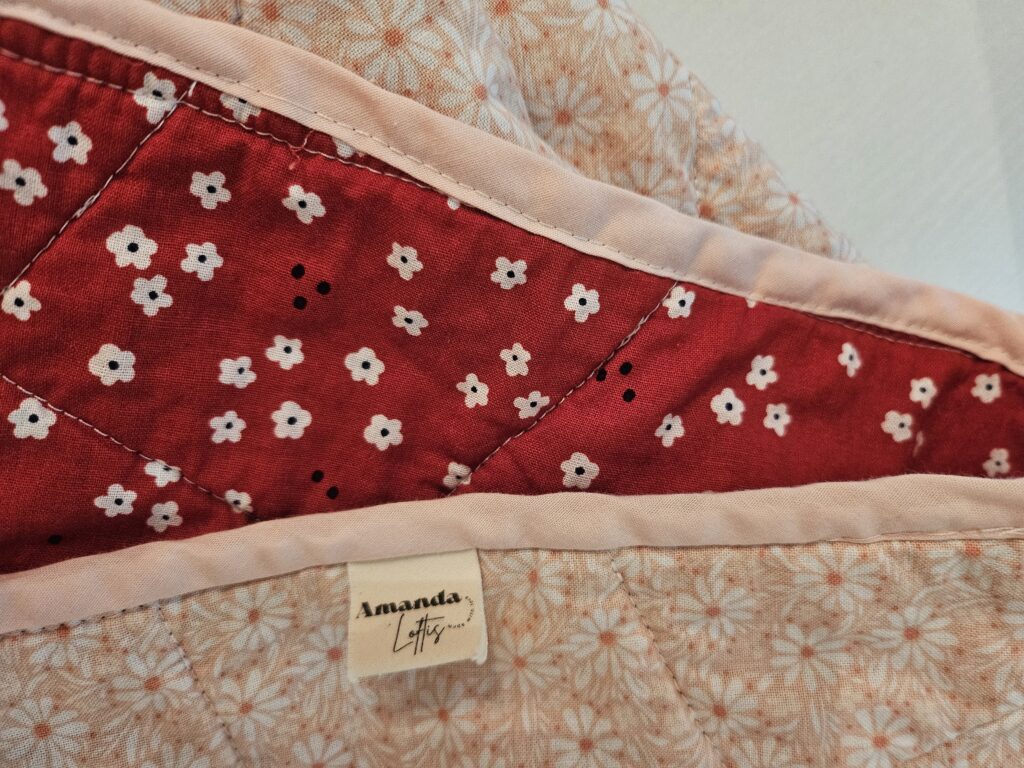
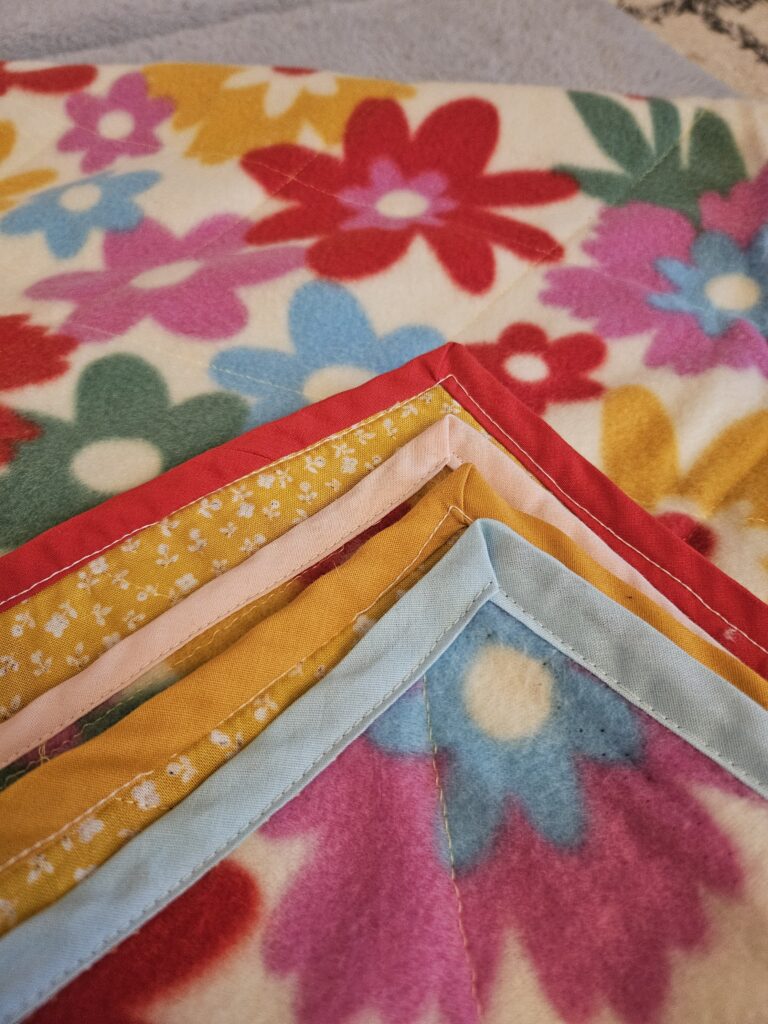
Once you’ve sewn your layers together, you can finish your edges with bias tape. I recommend using bias tape designed for blankets since it’s wider and makes your quilt feel like a professionally-made blanket. However, I also love using smaller bias tape too on smaller baby-sized blankets.
On this blanket, I used a different color bias tape on each side just for fun!
Have you ever made a quilted baby blanket before? What fabrics did you use?
(Disclaimer: As a member of the Amazon Affiliate Program, I may earn a commission from qualifying purchases linked on this site.)
